Category Archives: Food

Creamy cashew milk. A nut milk even you picky folks can enjoy.

OLYMPUS DIGITAL CAMERA

There is something to be said for making your own milk. And, as a mother who breastfed her baby, I know a thing or two about producing my own milk. Well hell, let’s be honest, sometimes it was incredible and sometimes it was impossible. But in the end, whether it was 8 oz (never happened for me, not once) or one drop, that homemade milk was worth it’s weight in gold.

Now that little dove is bigger she doesn’t need mamma’s milk anymore. In fact, none of us grown folk ‘need’ milk past our infancy/toddler-hood. I’m sure y’all know by now that you can get your calcium from other sources like dark leafy greens and beans, amiright? And no, I’m not on a vegan rant here. I’m not even going to talk about the cows and how tired they must be, or the lactose intolerance that is rampant in our world. Because, let’s face it, I still drink cream in my coffee. Yes. I. Do. I just can’t fully let it go.

Truth be told, dairy is directly linked to eczema, asthma, acne, constipation, and all sorts of other illnesses. And when the little dove got a bit of eczema behind her knees, I made a choice to limit the dairy she gets. Since most of us gluten intolerant folk are also lactose intolerant, I thought I should hop off the dairy train too, sort of. A good friend and I have a saying: ‘everything in moderation, even moderation.’ So I cheat with my cream and some good cheese at times. I do however try my damnedest to lower my intake of milk products and have enjoyed a lot of different nut milks in everything from lattes (ok, not so much), to smoothies, to french toast and so on. I really don’t like soy, so it’s just not a contender here. The sad thing is all these store-bought nut milks usually have lots of added sugar or other yuckies to keep them on a shelf forever. And being the hipster granola mom that I am, I don’t want the little dove to have all that crap.

OLYMPUS DIGITAL CAMERA

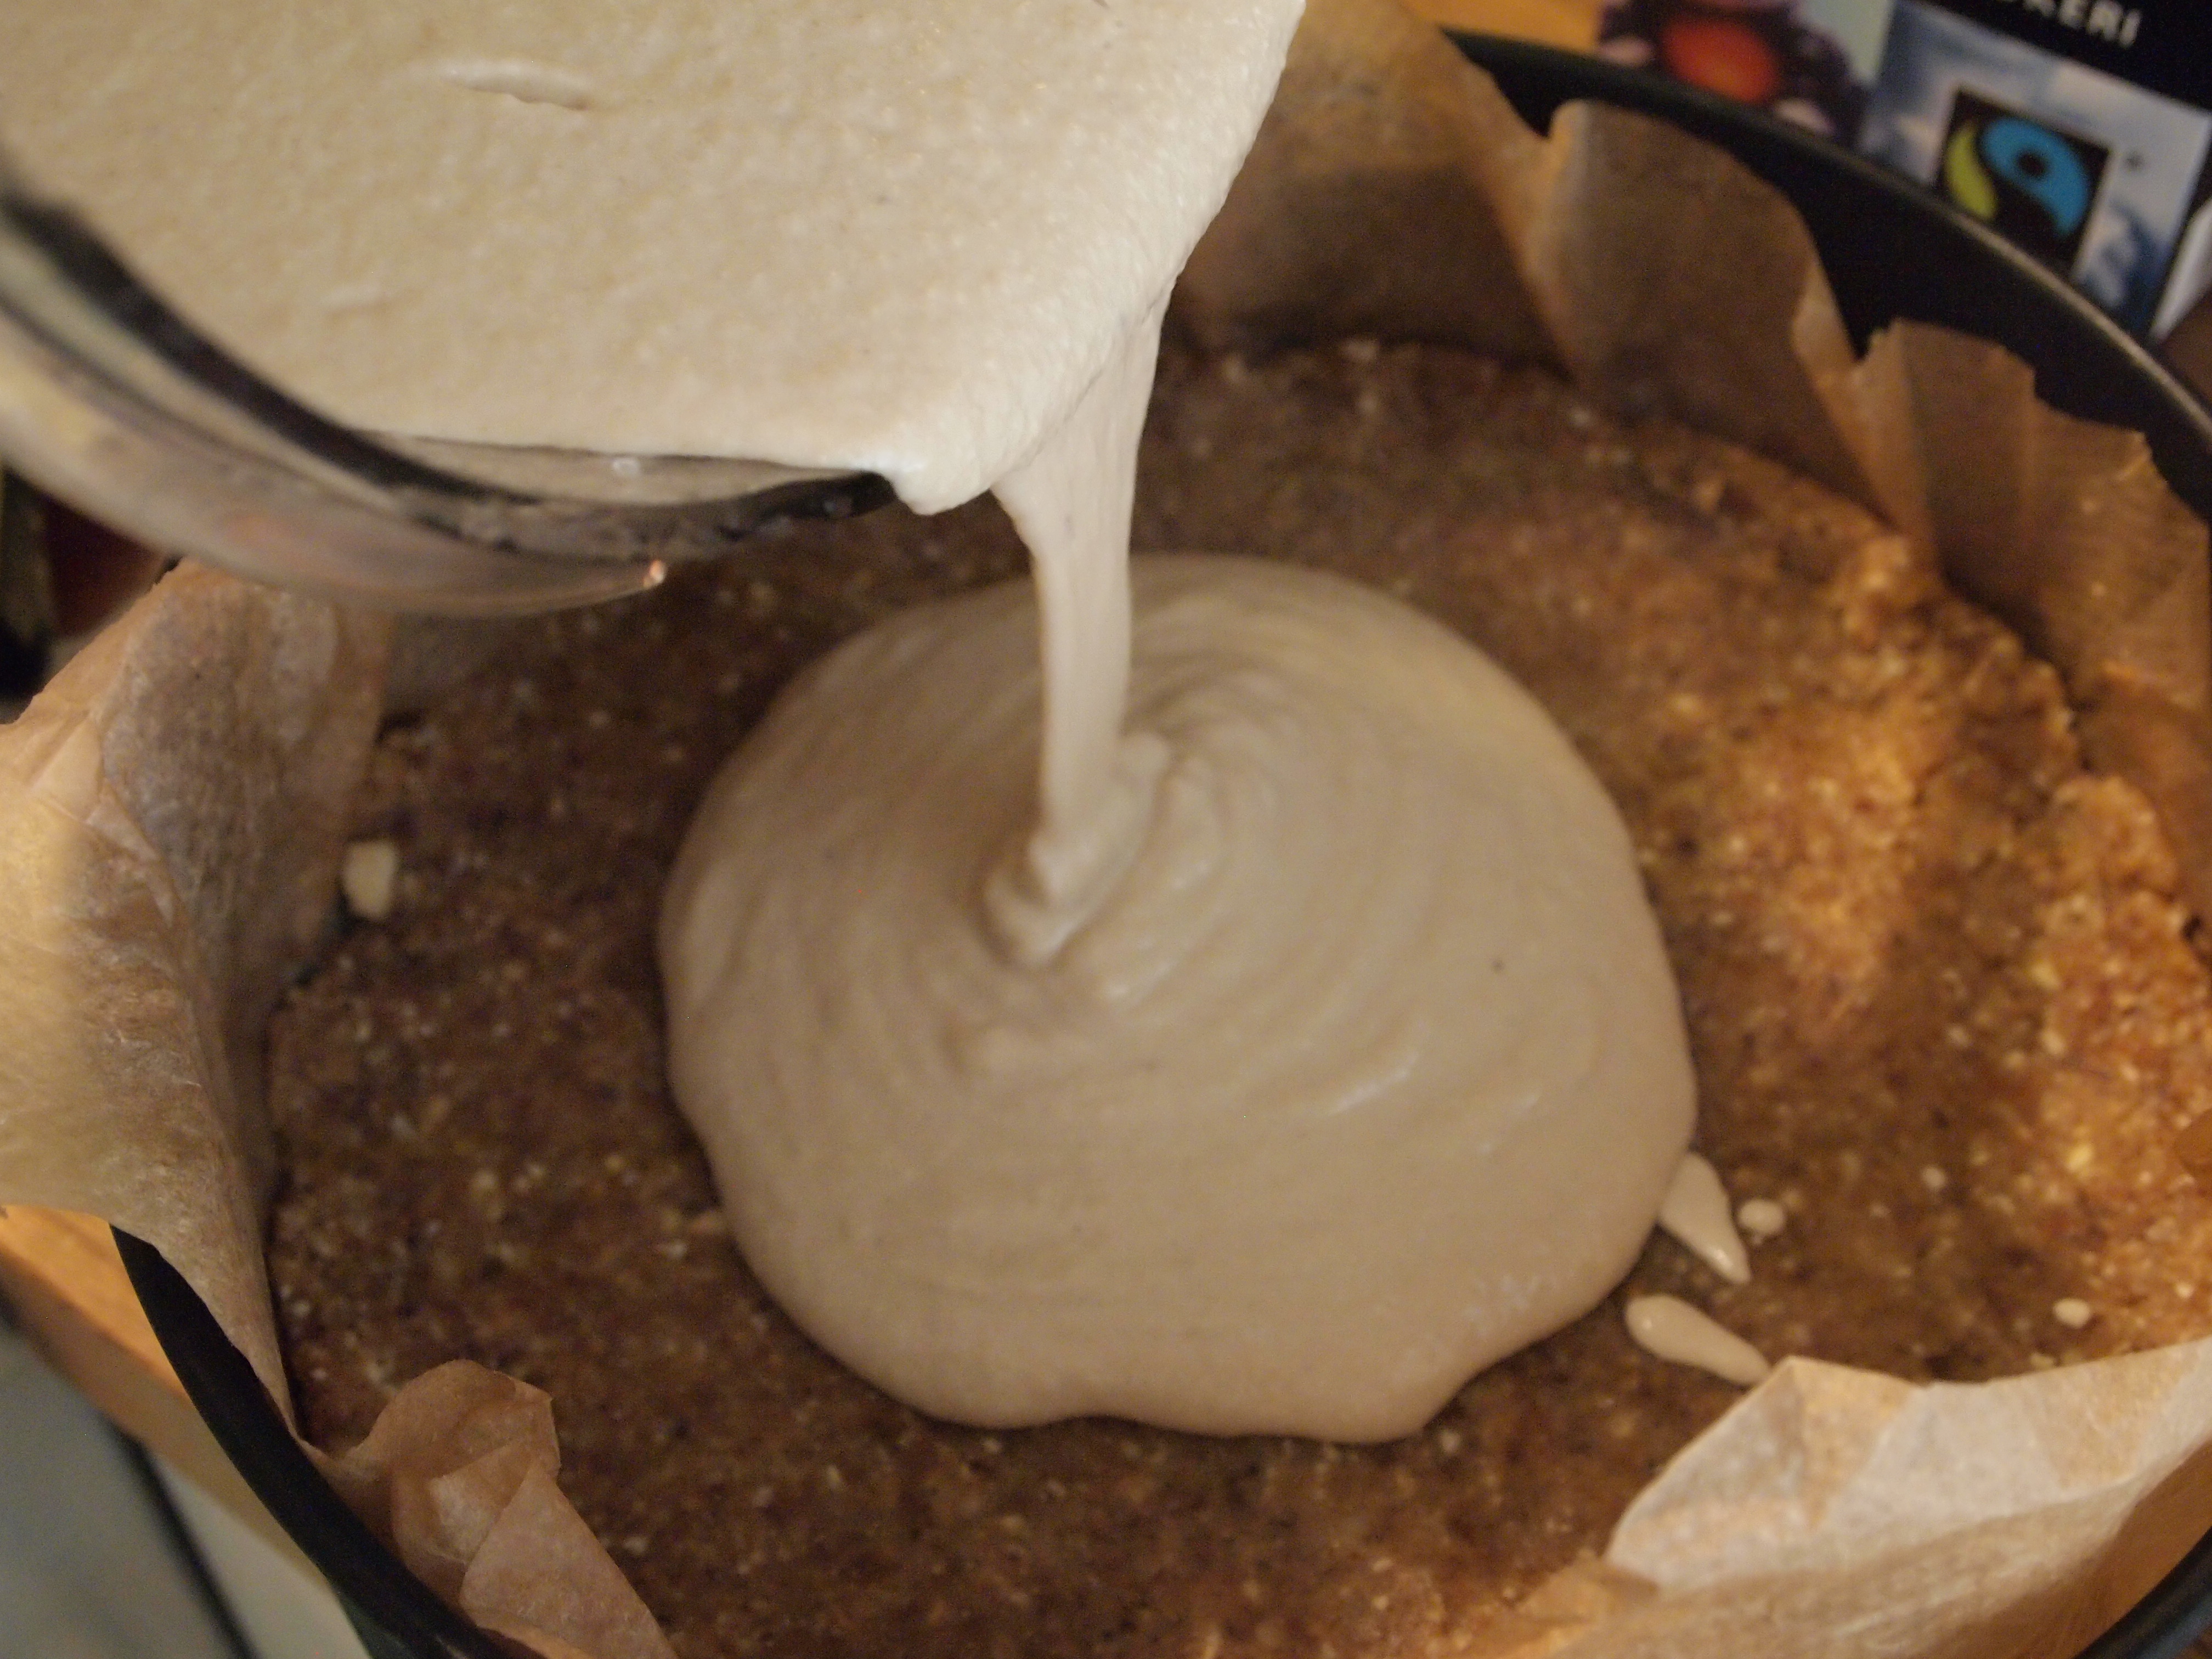
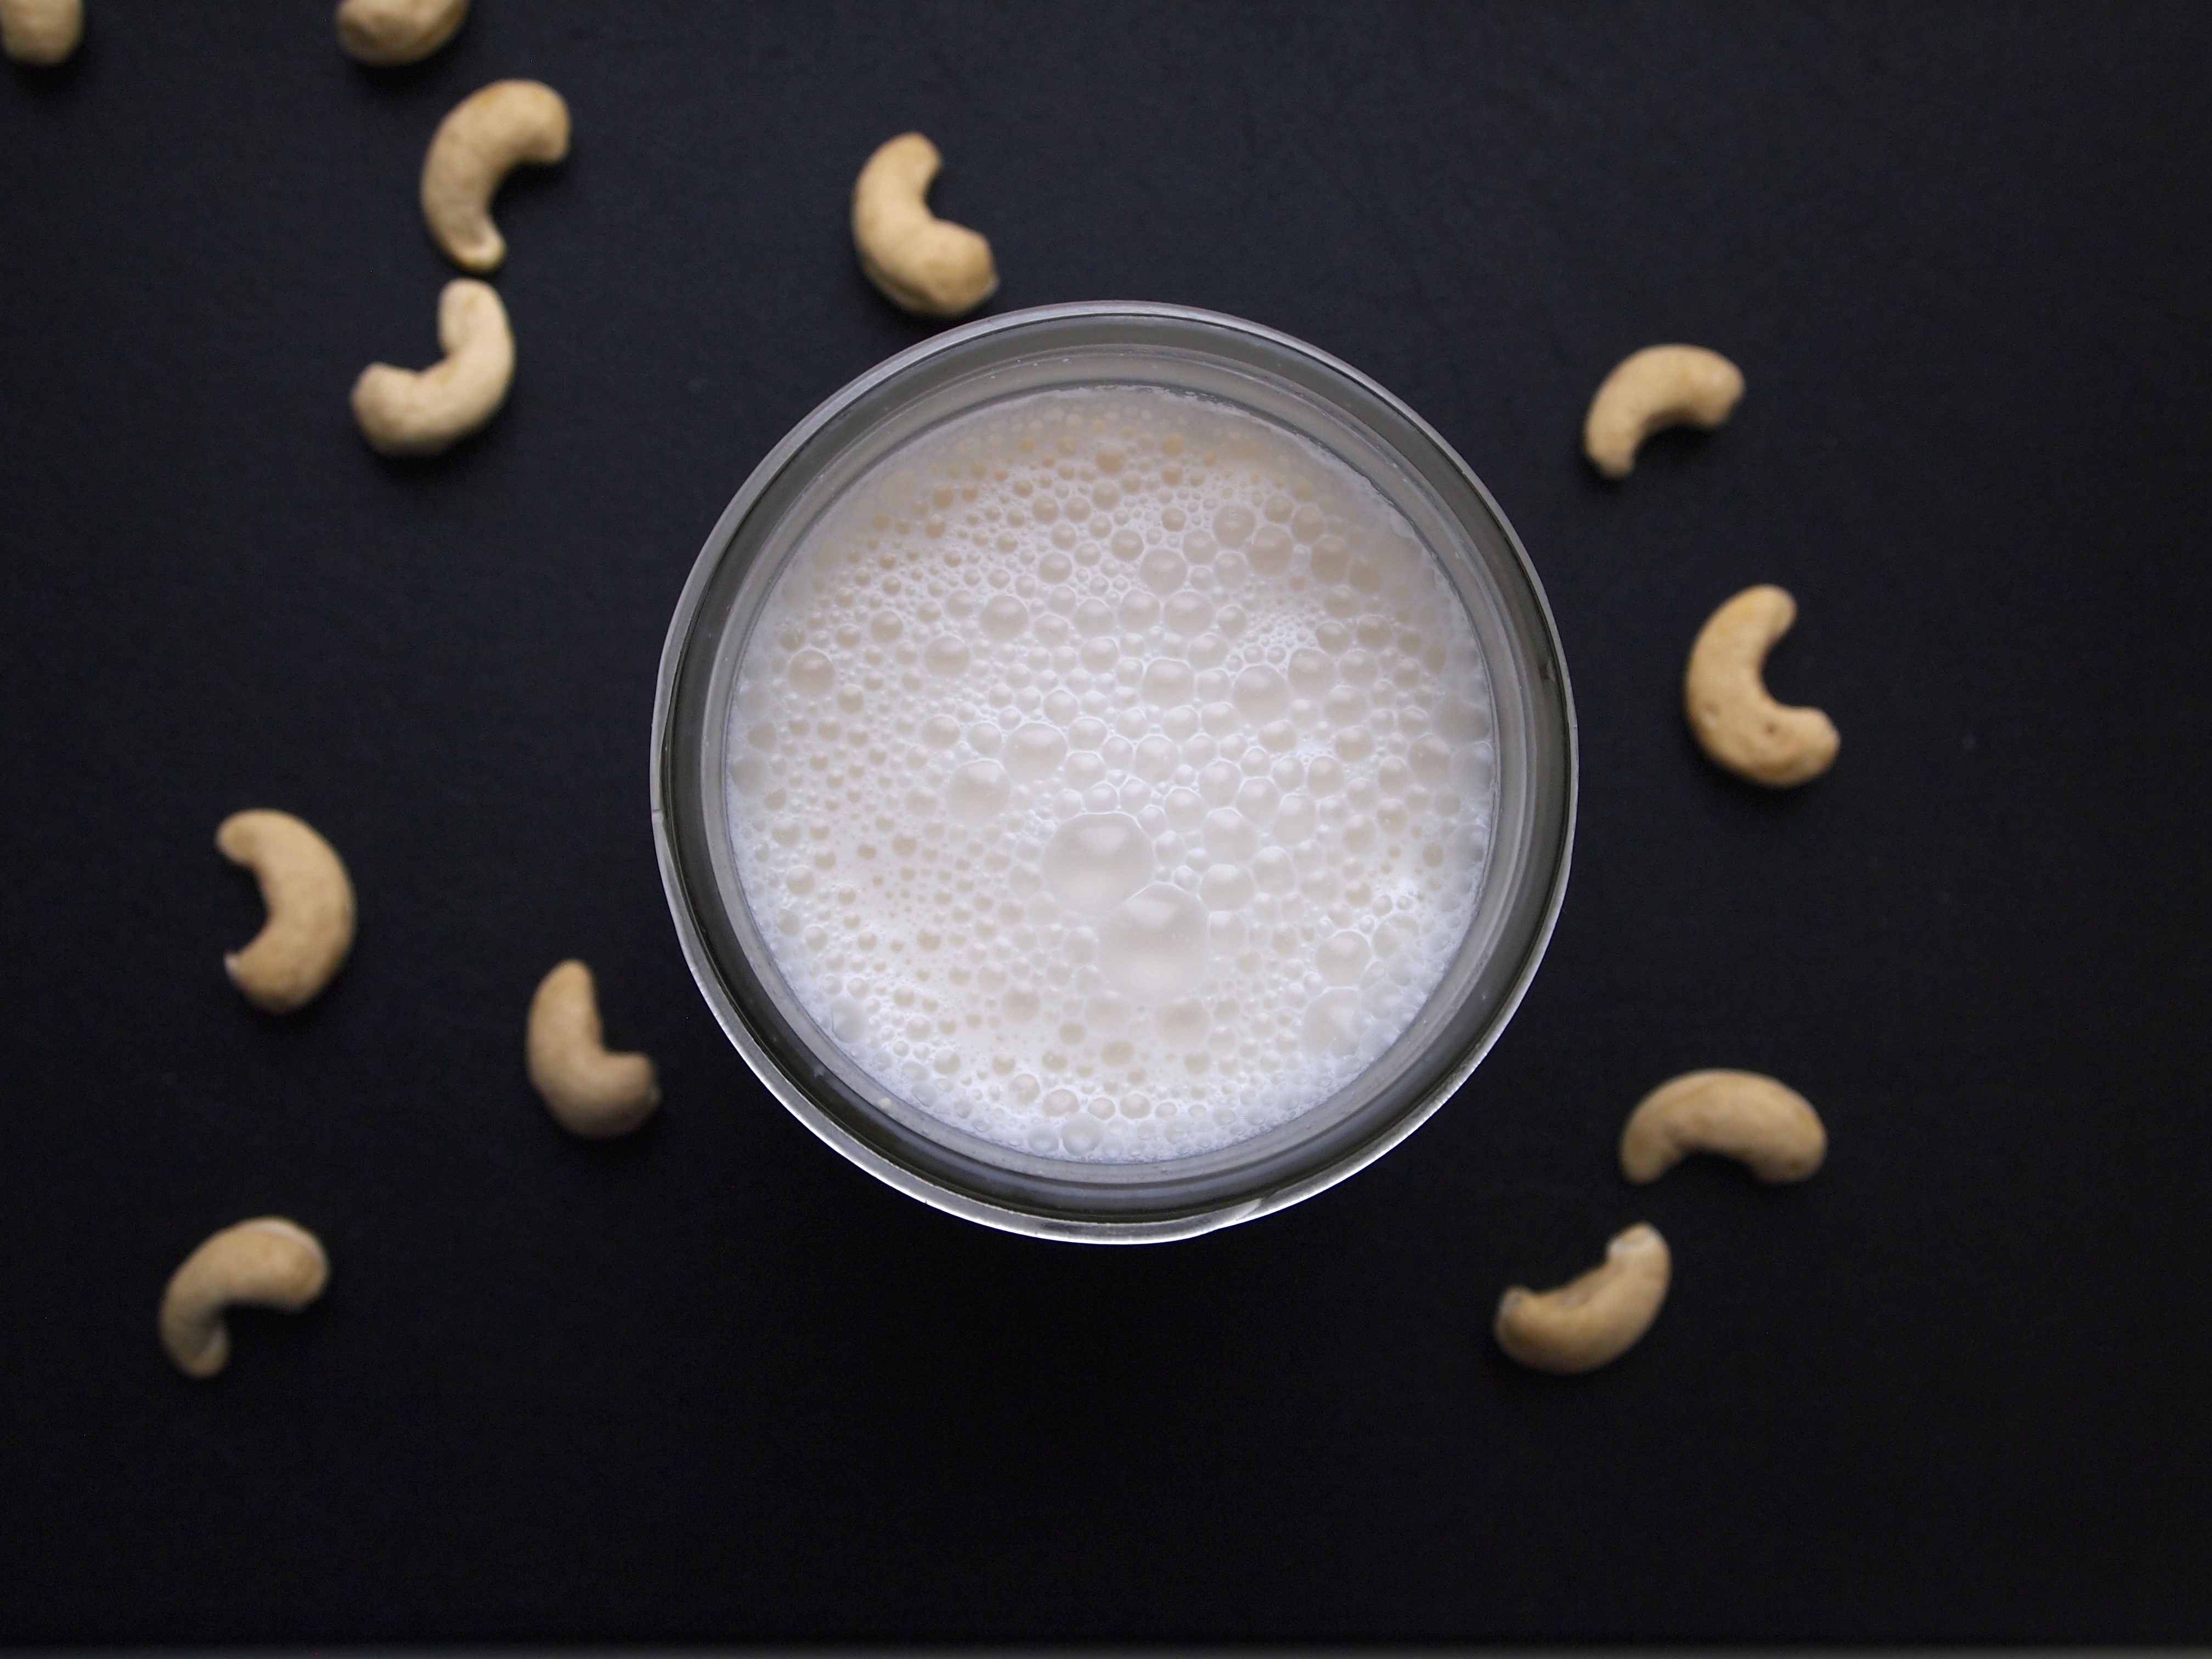
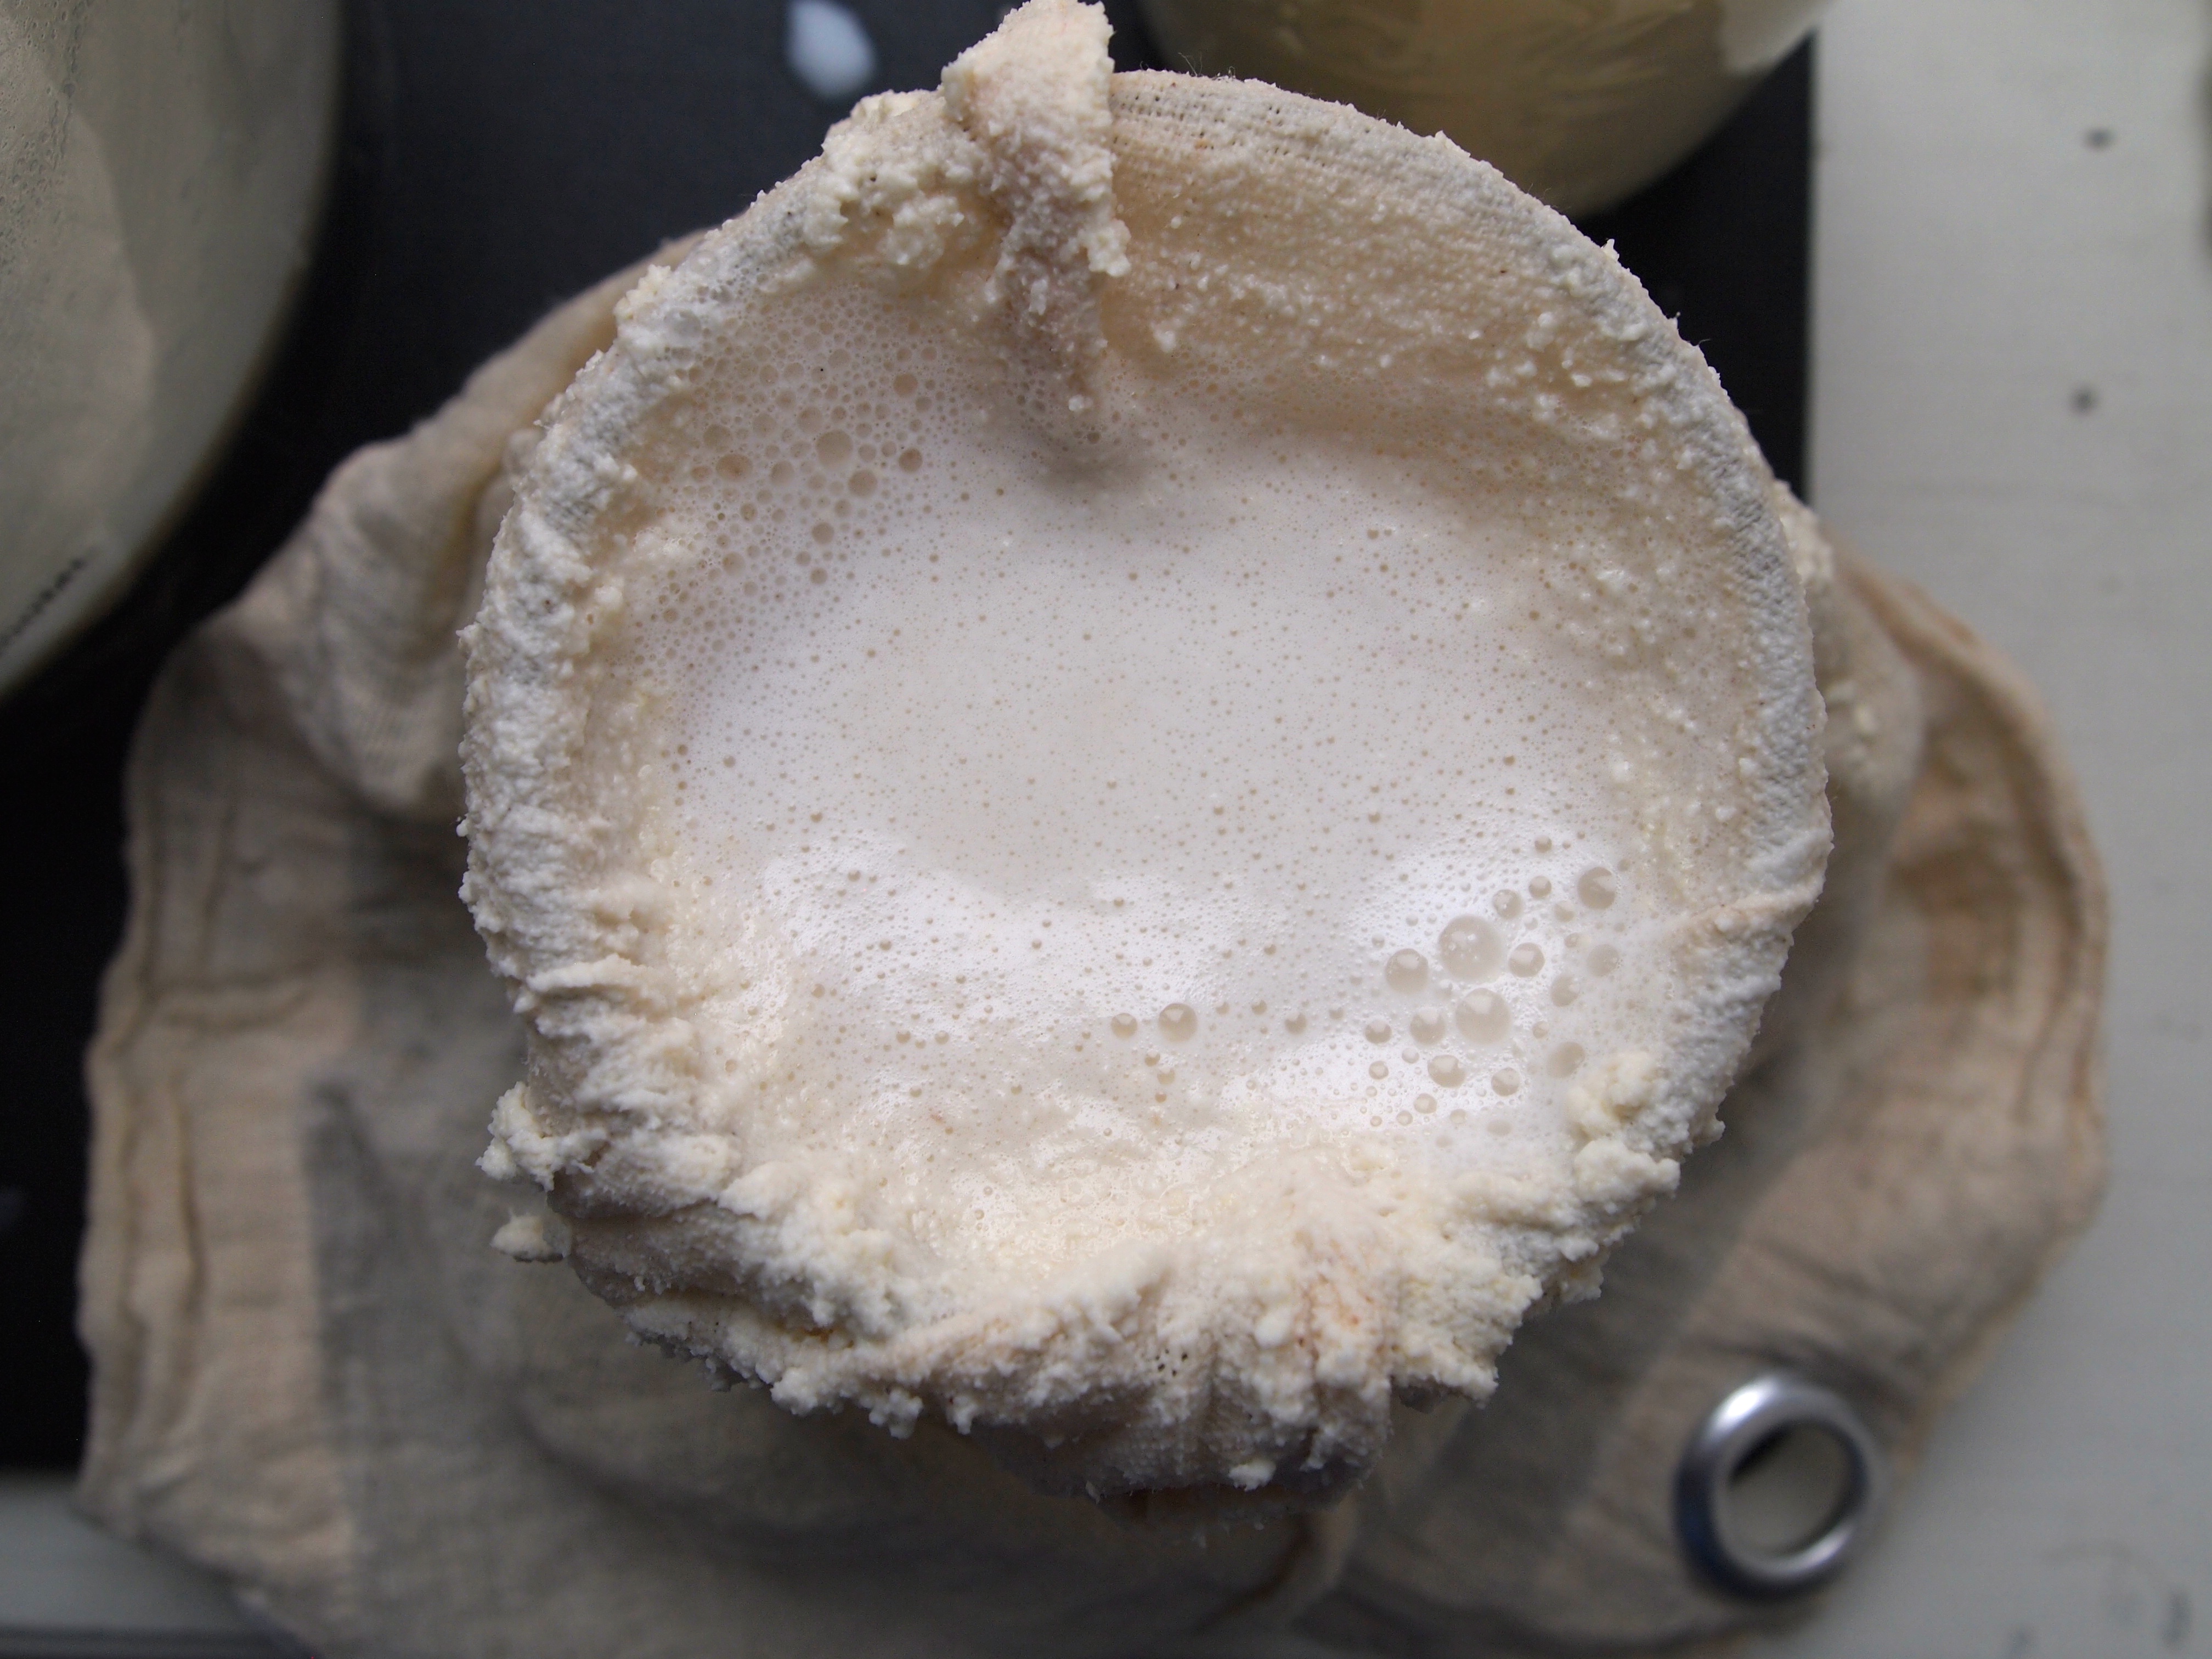
When I heard about how easy it is to make your own nut milks I was psyched. Really, it was a total ftw moment for me. All the blogs I read raved about how creamy and nutrient rich it is. They also all emphasized that you don’t have to strain cashew milk with a nut bag (yeah, that’s a thing) like you do with almond and other nut milks. Most recipes call for a high speed blender, but I opted for my cuisenart food processor. The first batch I made was really good. We had it in everything. But truth be told, it had nut residue for sure. So the second batch I made, I soaked the nuts overnight (first batch I only soaked them a few hours) and I actually did wind up straining it. The straining process does add a big, messy, step, but the result was smoother milk. I didn’t really mind the first batch with it’s bits, but I wanted to see what it was like strained. You can see in the photos that there is a lot that gets wasted when you strain it. I have seen recipes that give you ideas for using the leftover nut ‘paste’, but for now I’ll just leave you with the simple recipe to make your own milk. Satisfaction pretty much guaranteed. Enjoy!
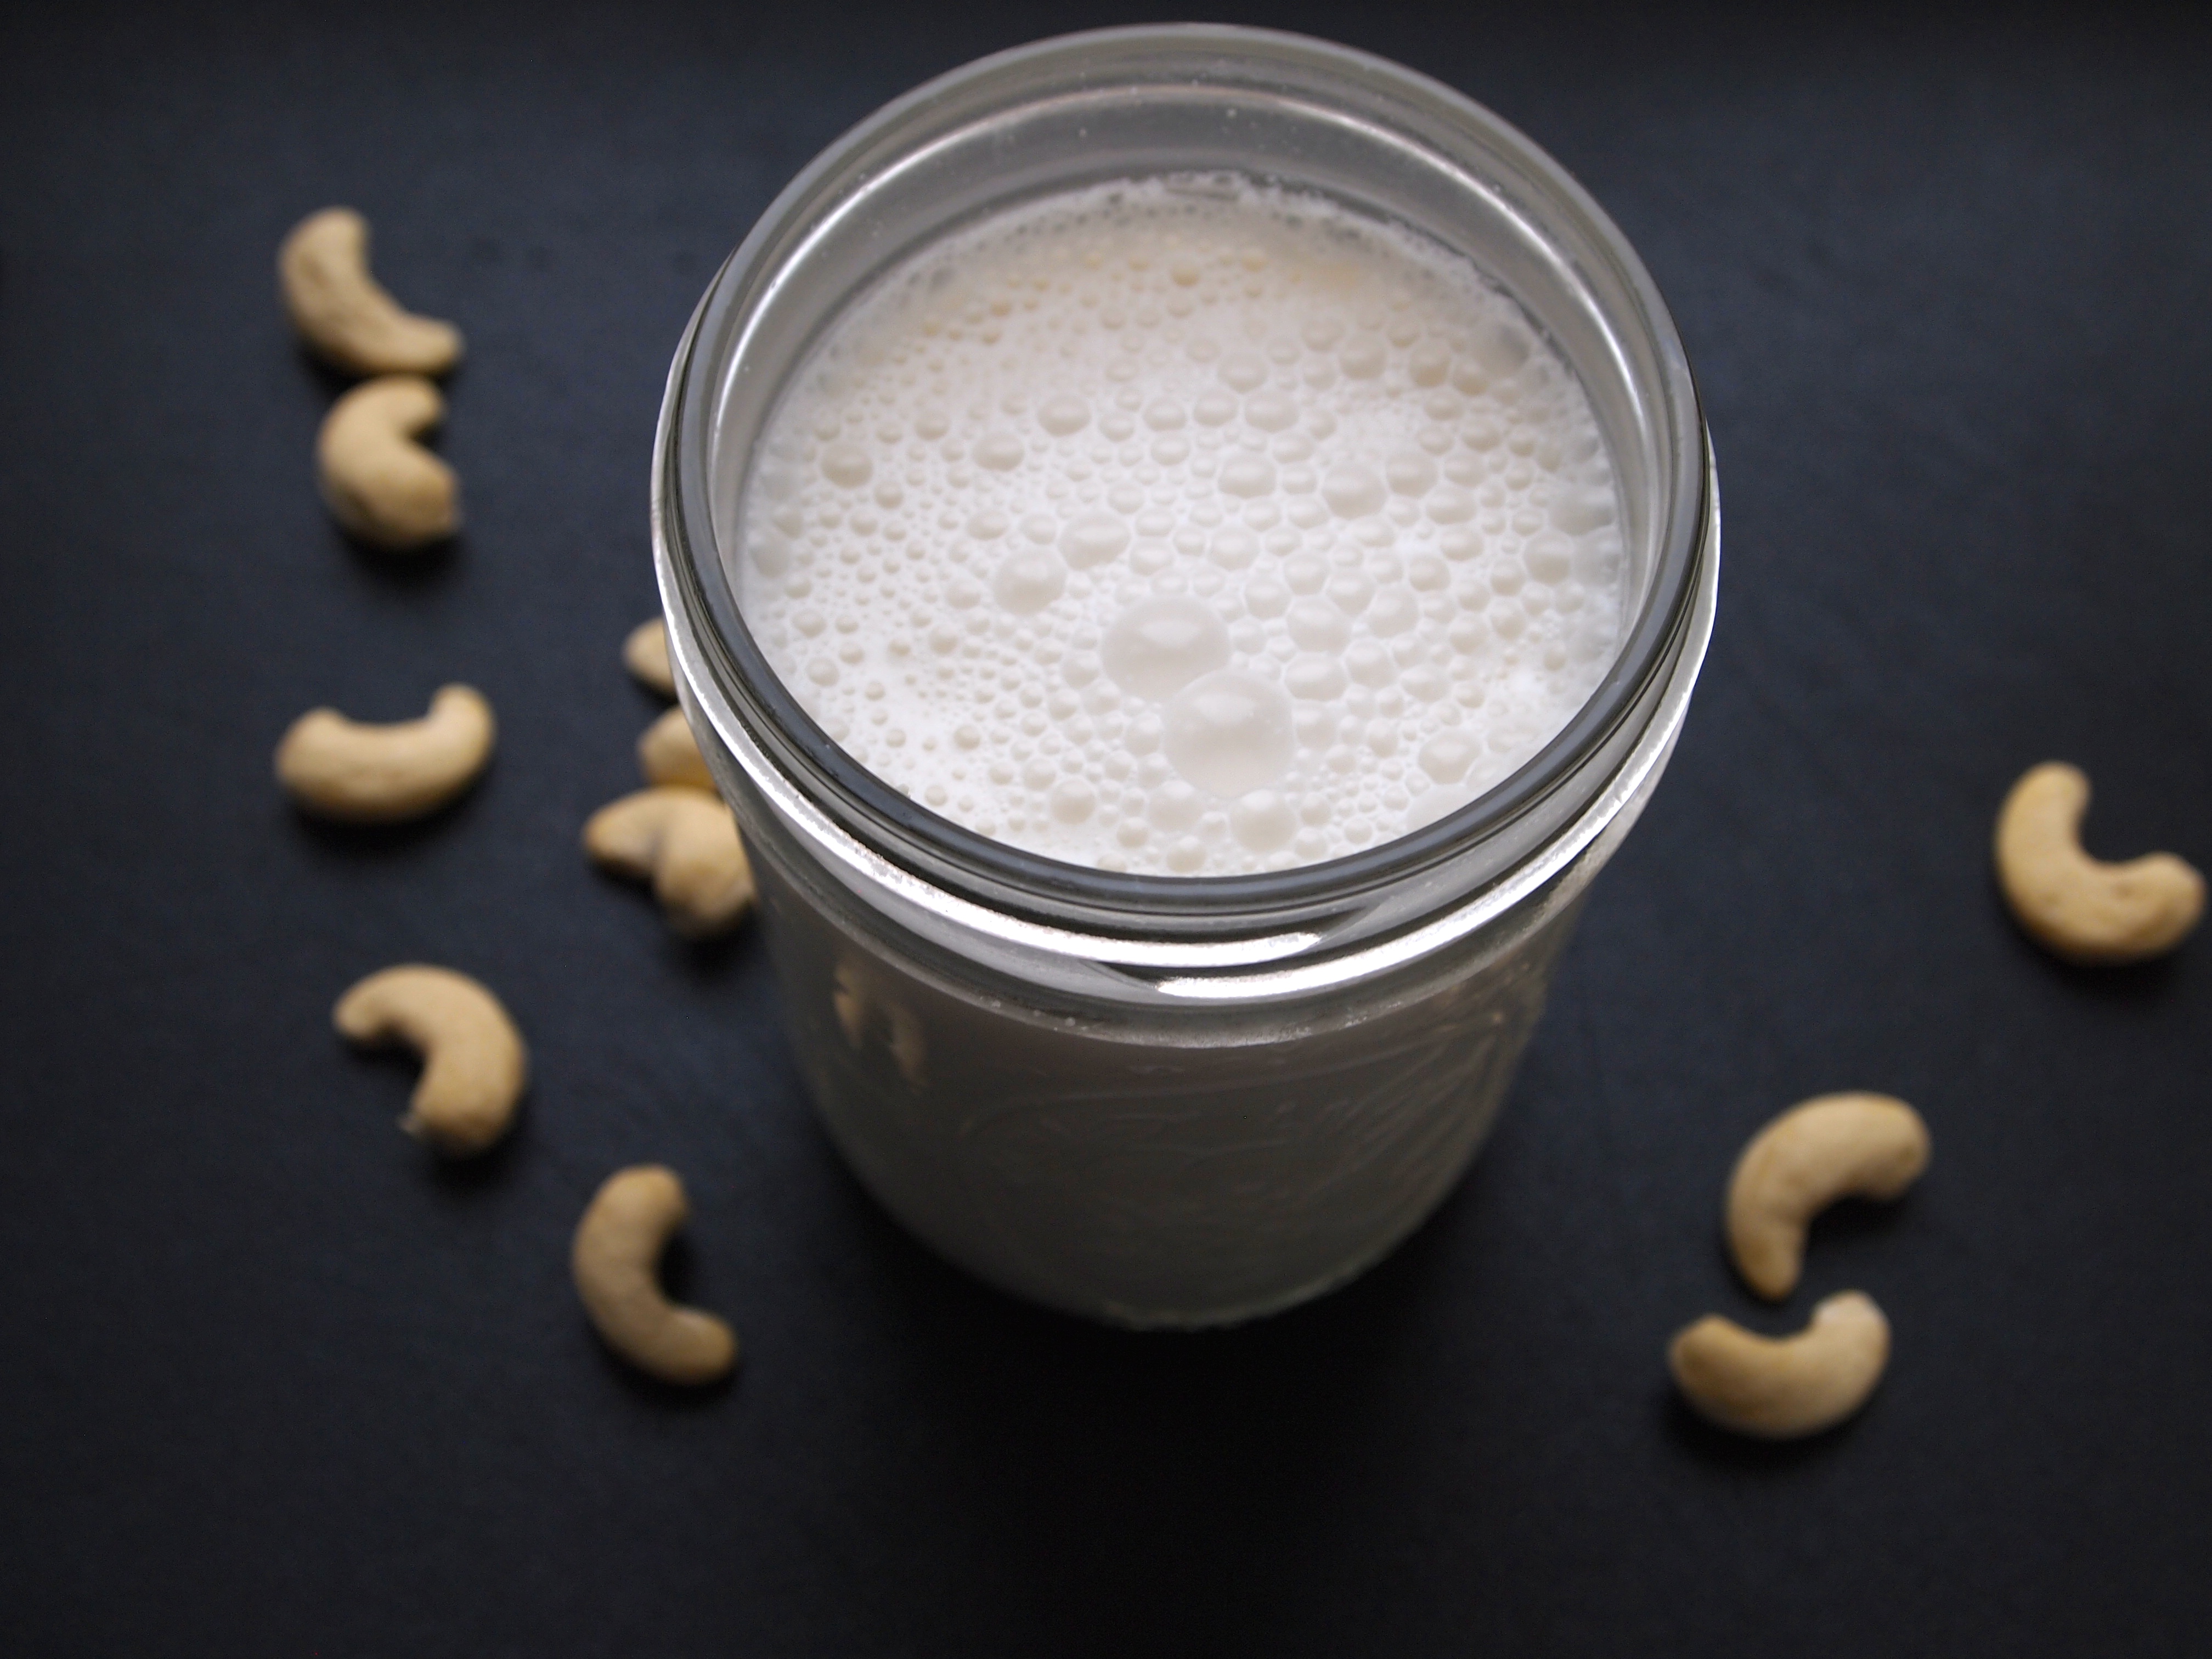
OLYMPUS DIGITAL CAMERA

OLYMPUS DIGITAL CAMERA

OLYMPUS DIGITAL CAMERA

OLYMPUS DIGITAL CAMERA

Creamy cashew milk:

Ingredients:

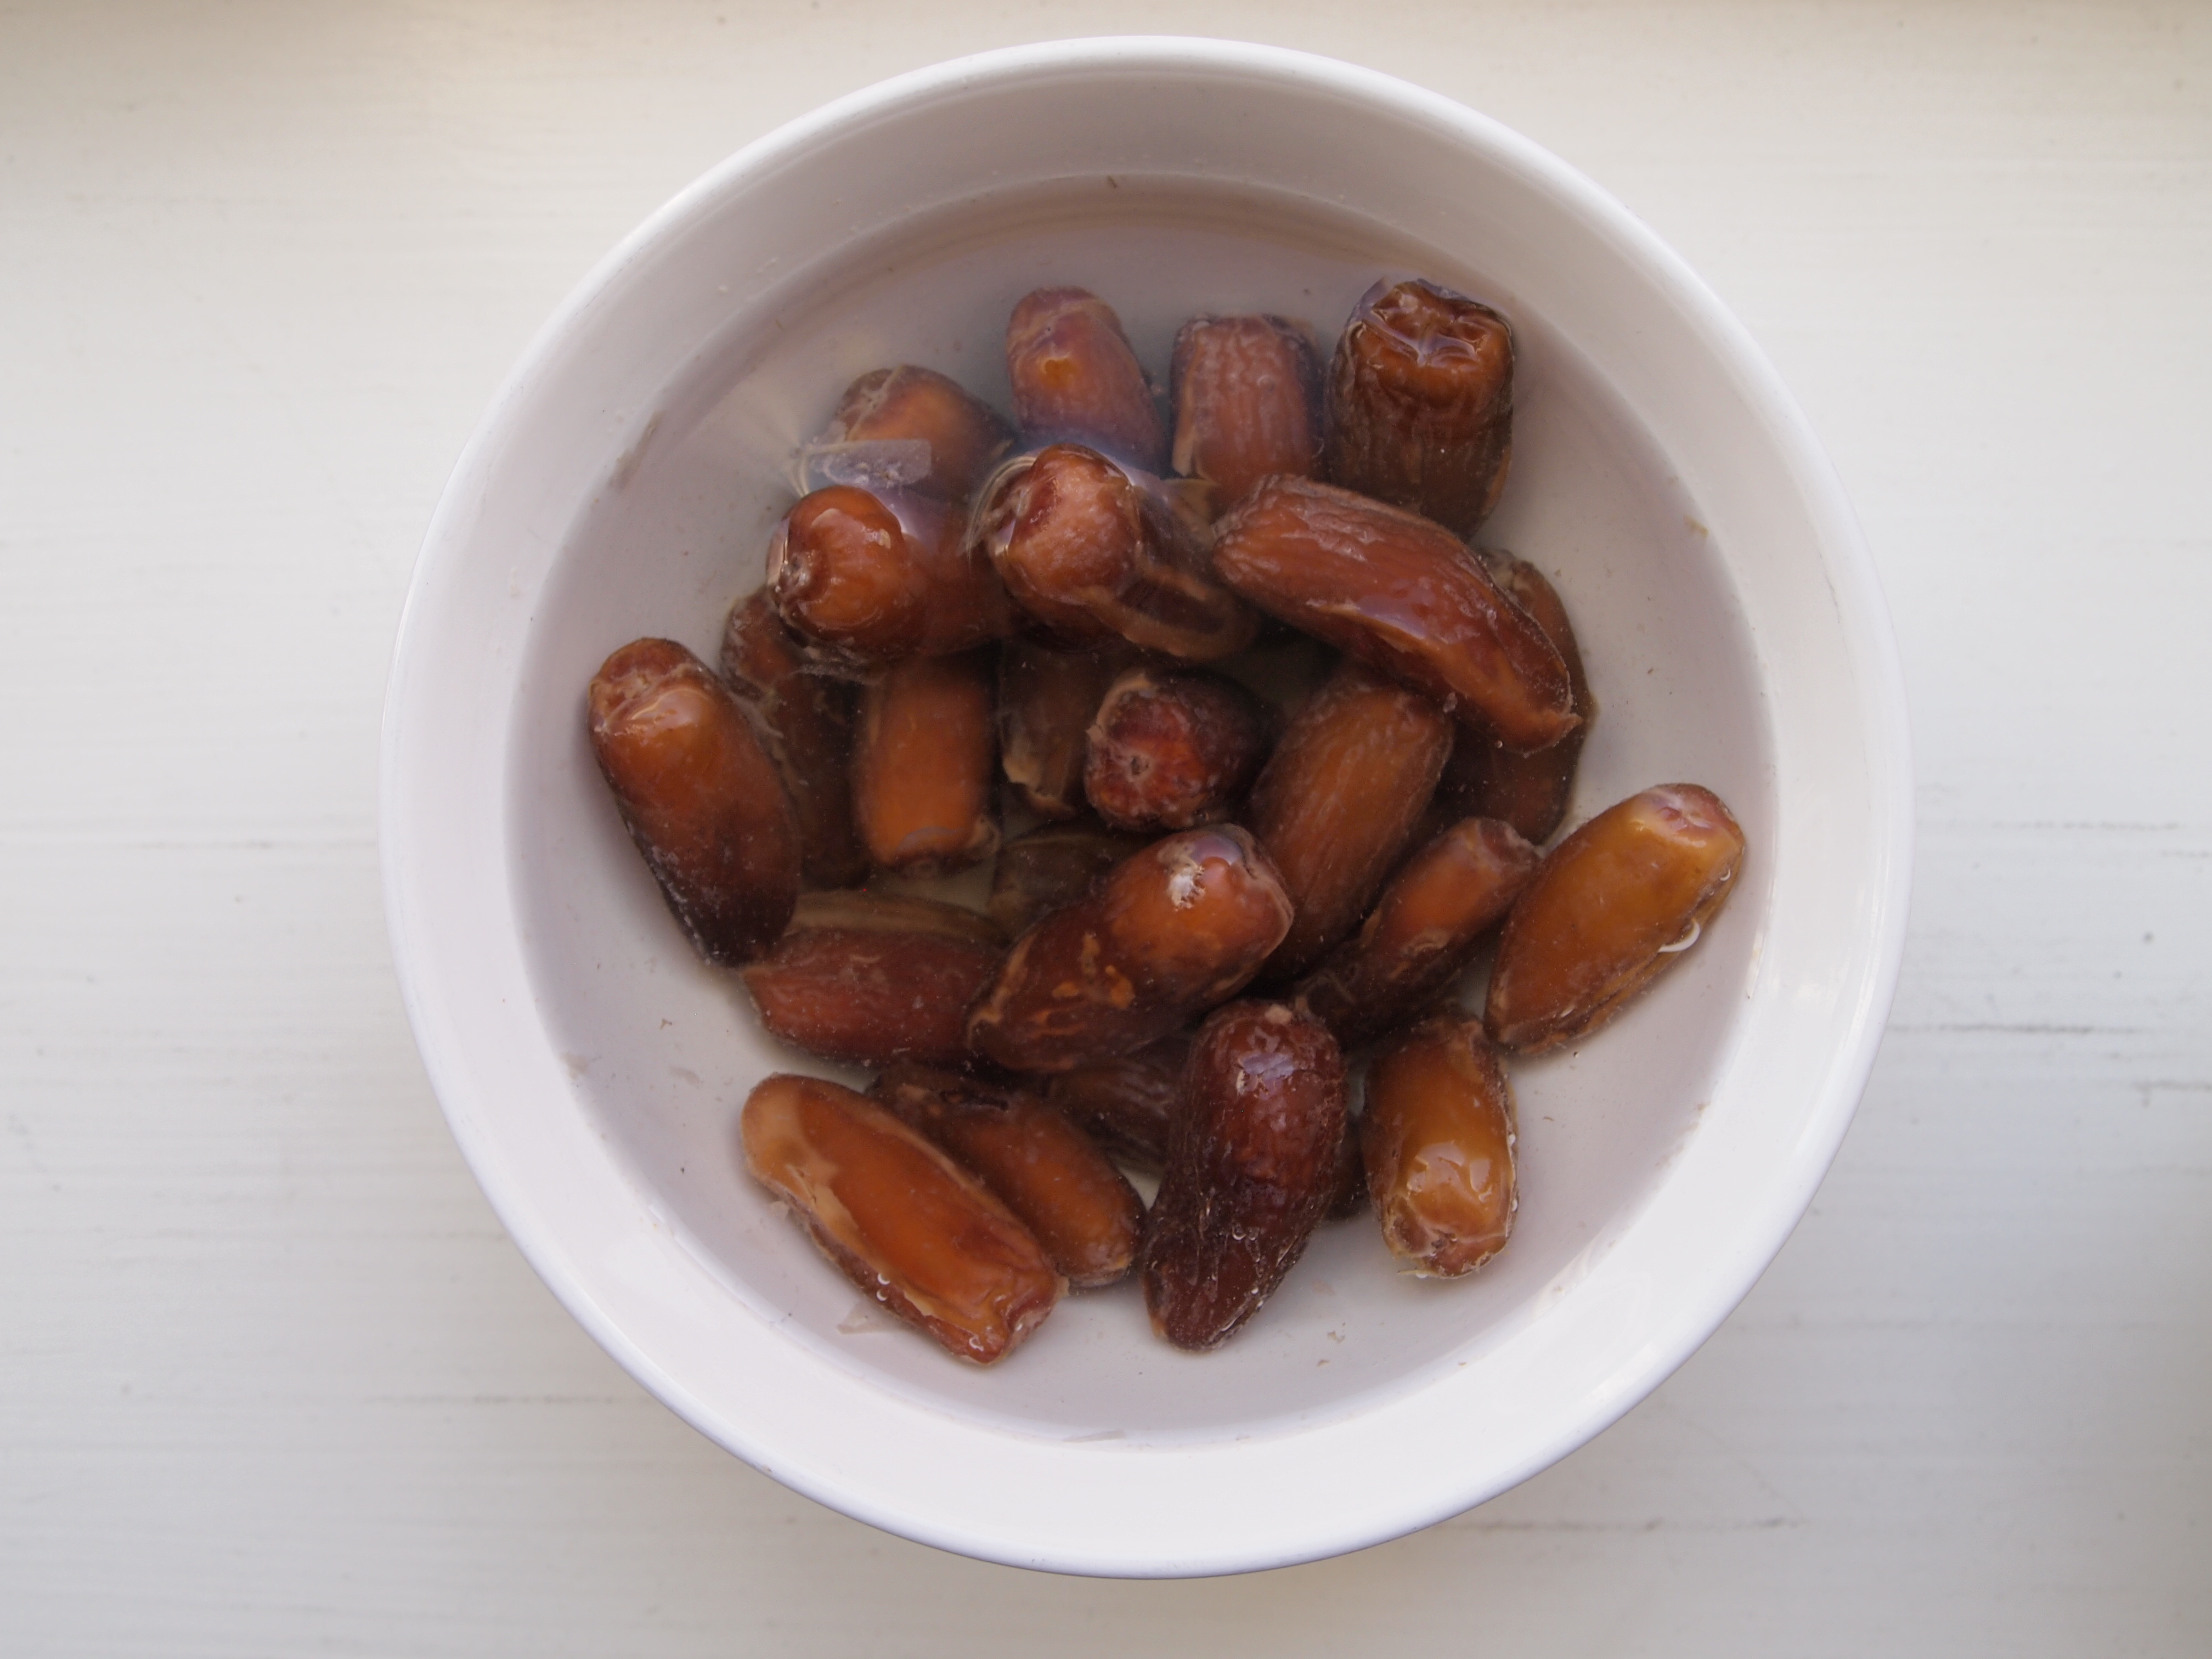
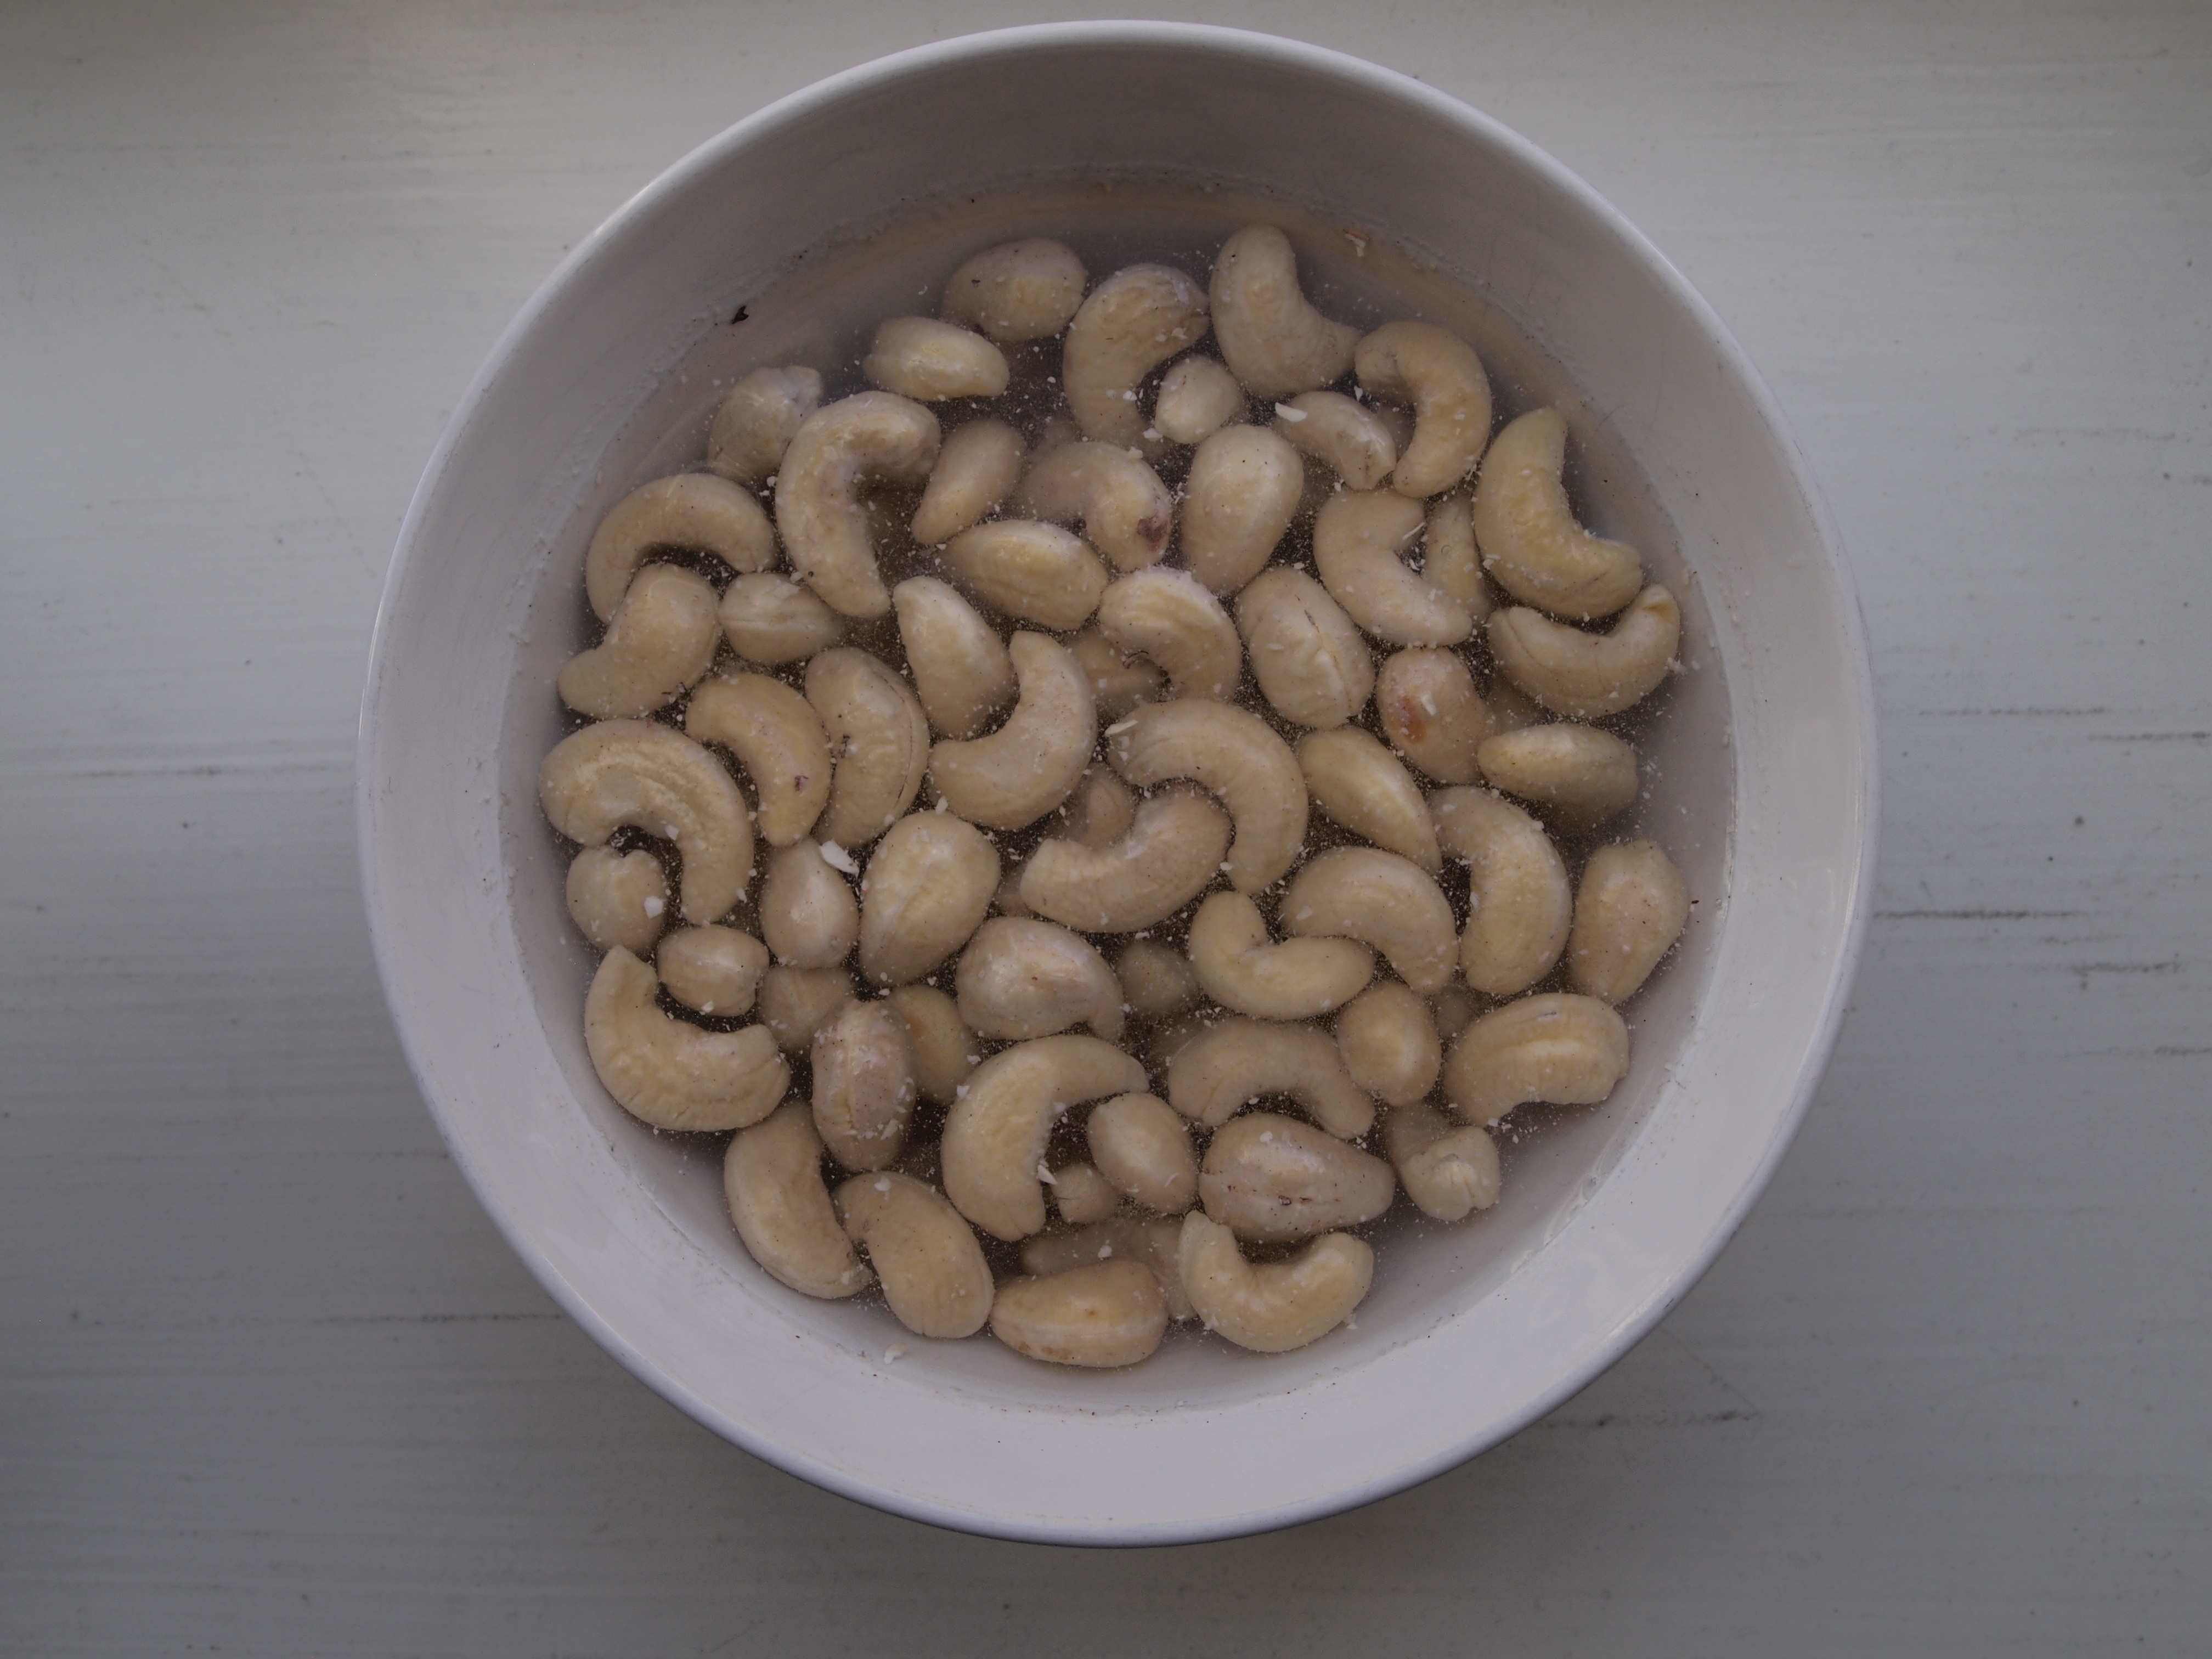
  • 1 cup raw cashews soaked overnight in a bowl of water that just covers them
  • 4 cups water
  • 2 tsp vanilla extract
  • 1-2 Tbs maple syrup, honet, agave, or other preferred sweetener

Directions:

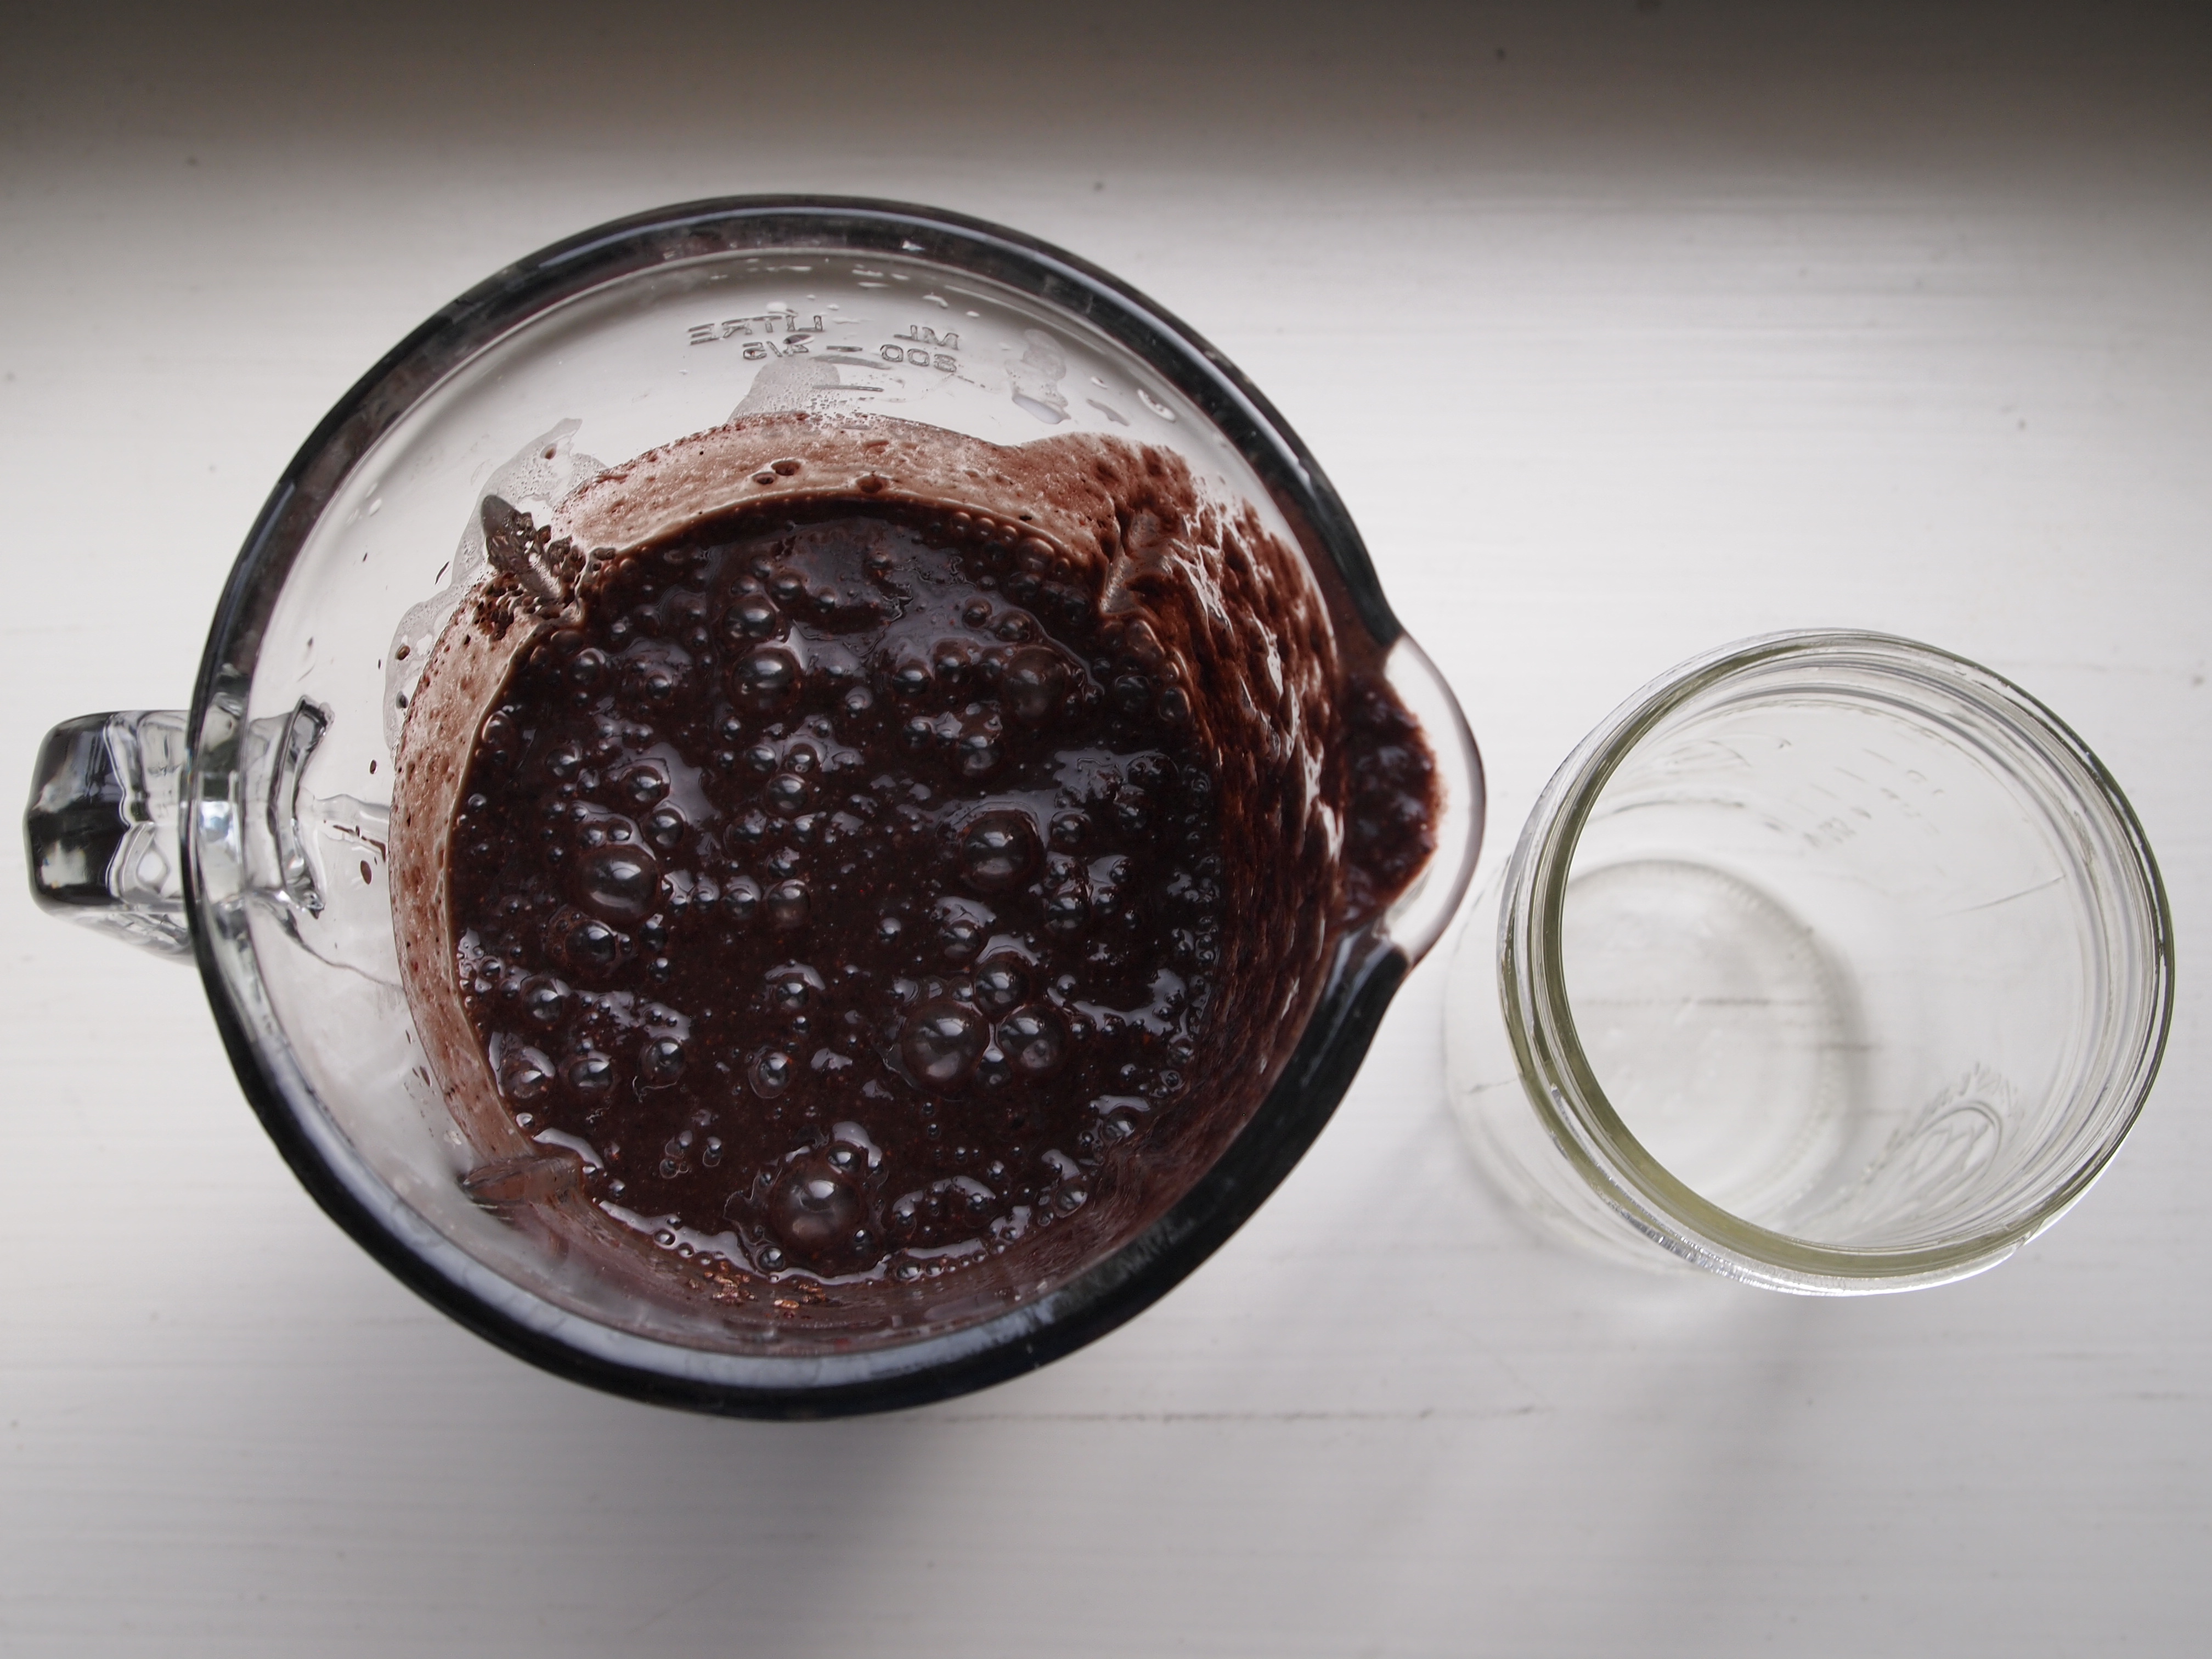
1. Drain the cashews and rinse them. Place them in the blender.

2. Add 2 of the 4 cups of water and blend on high.

3. Once the milk is getting smooth you can add the other 2 cups of water. If you want a thicker milk add less water.

4. Add in the vanilla and maple syrup.

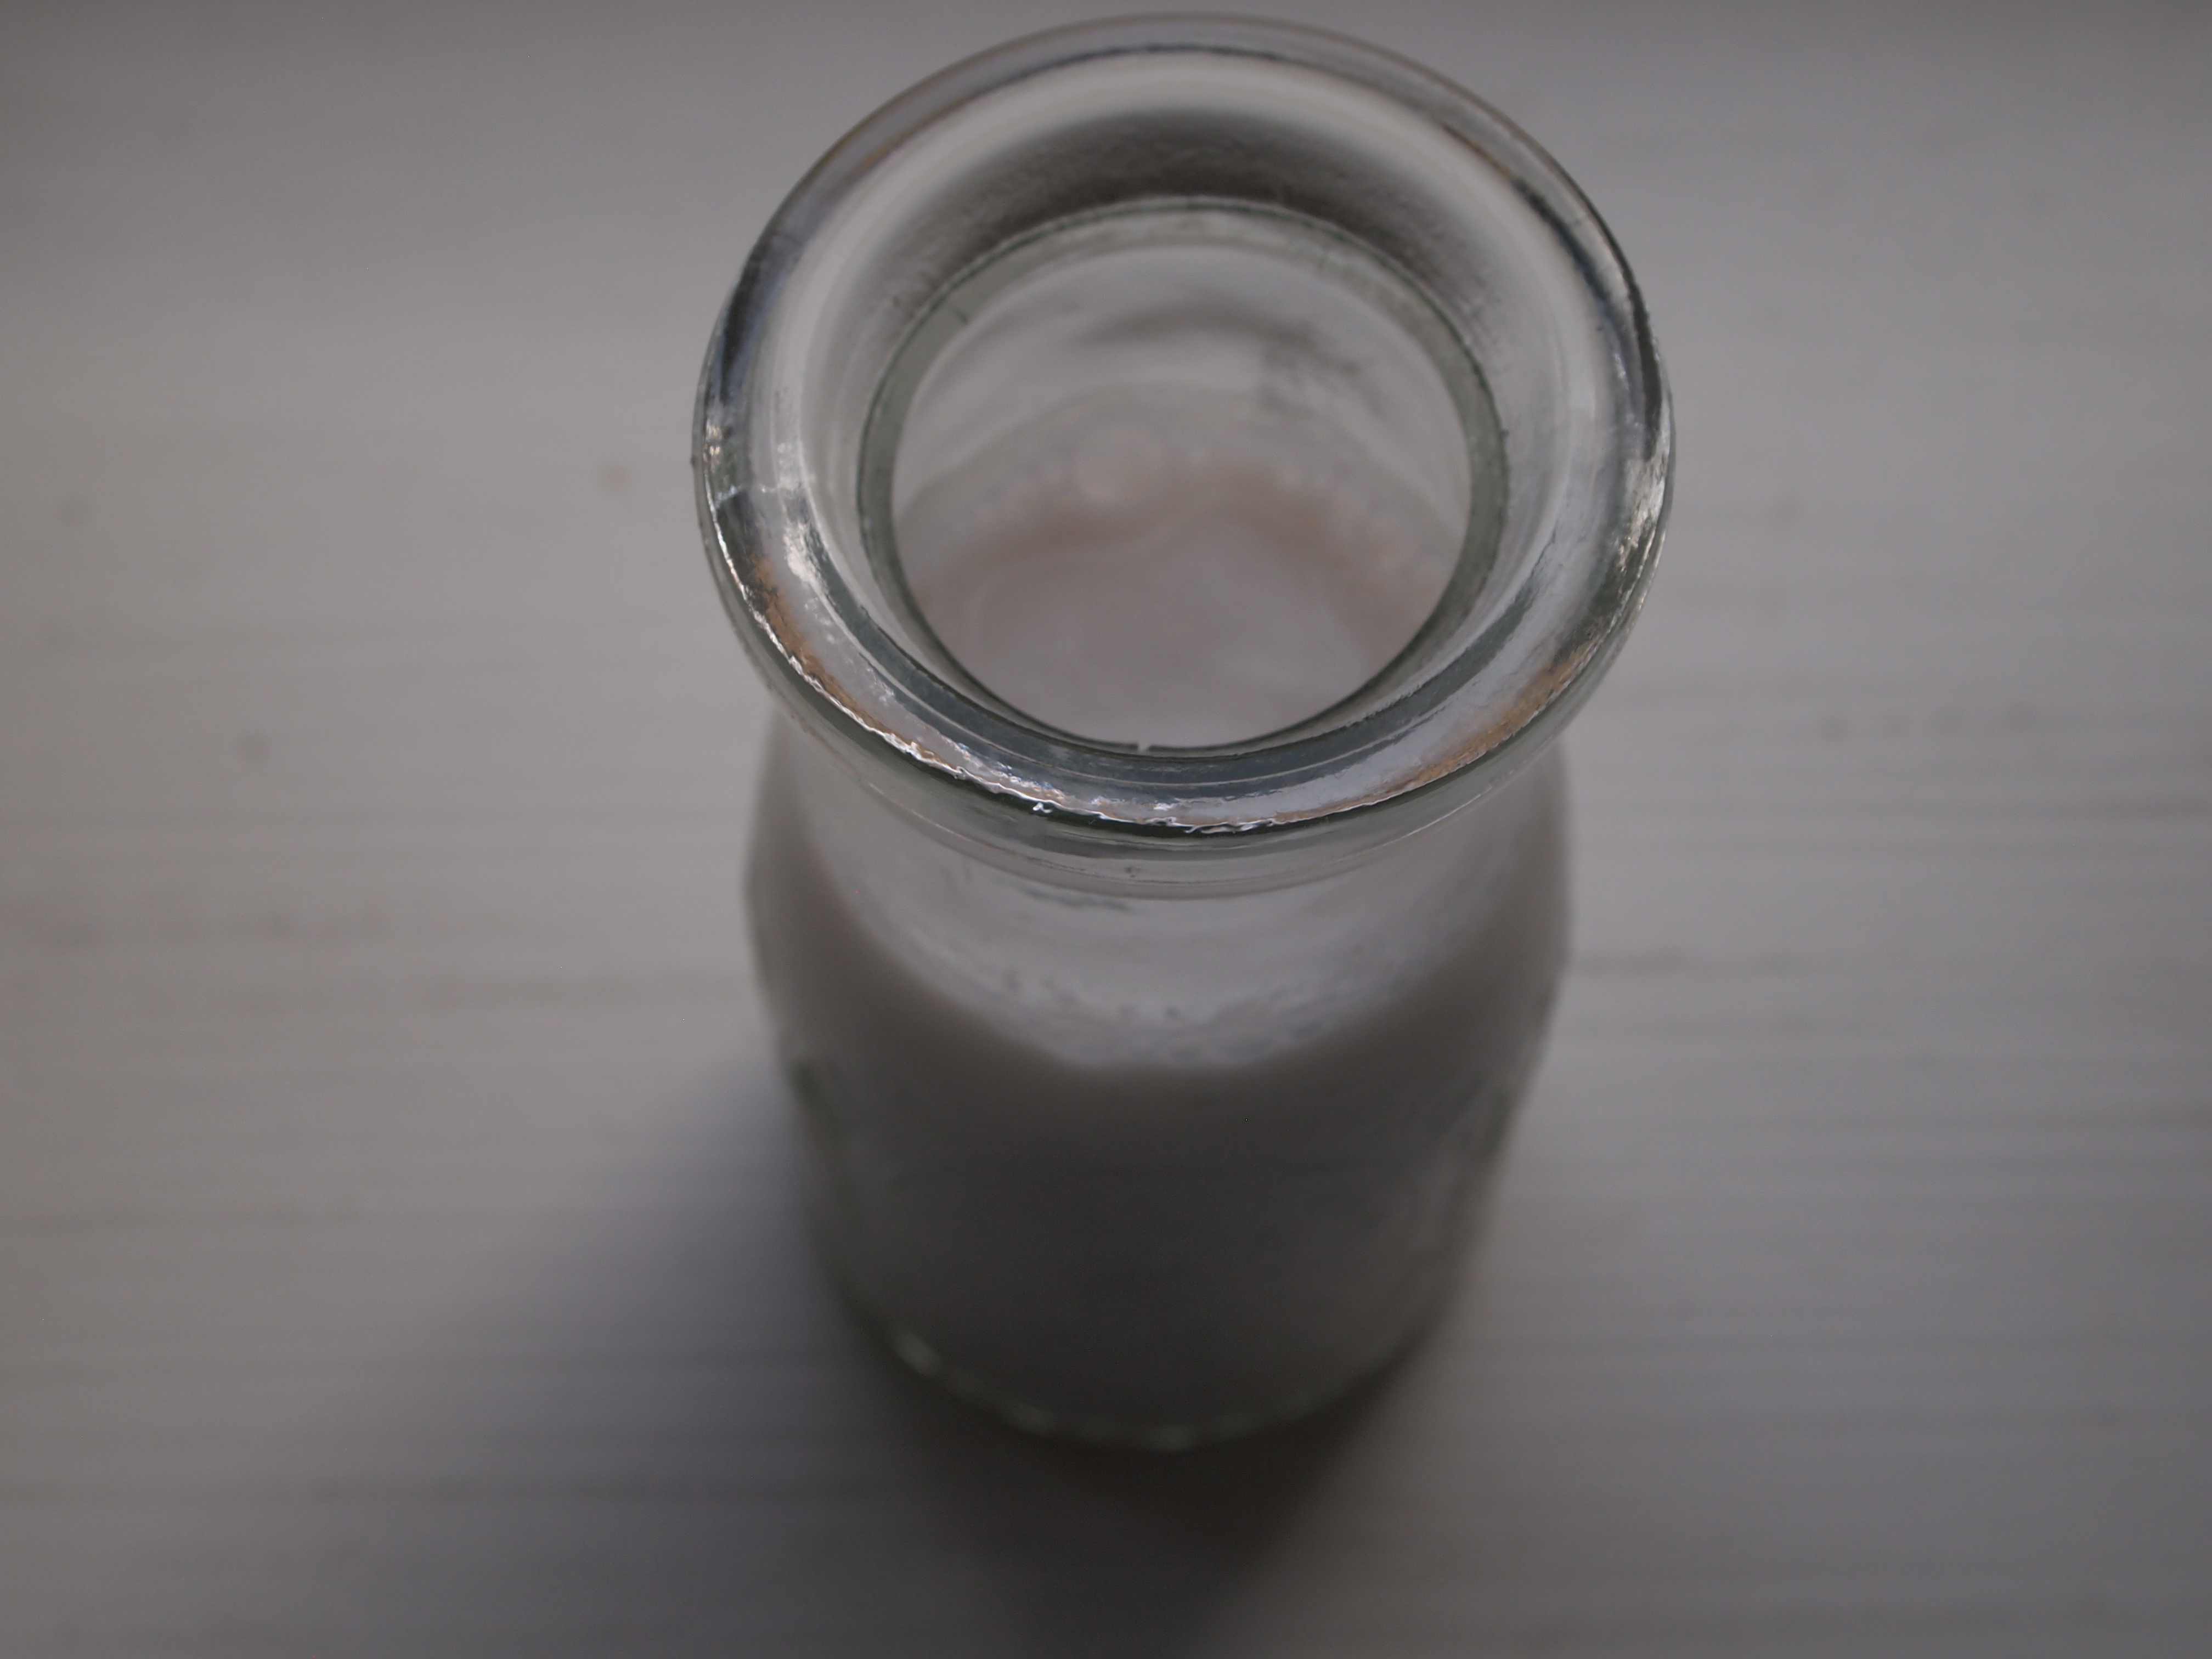
5. Pour into airtight glass jars and store in the refrigerator for up to a week. If you prefer a smoother milk you can strain it with cheesecloth.

Mother’s Little Helper: Kale and Blueberry Smoothie

OLYMPUS DIGITAL CAMERA

Living in Sweden I sometimes find it hard to get my dark leafy greens in during the winter. All the vegetables look gray and tired, just like I do after a long-haul across the world. And most of our veggies are shipped on these 17 hour voyages from other lands – lands that have sunshine which is necessary to grow veggies, and happiness, ahem. But I digress.

OLYMPUS DIGITAL CAMERA

When I first moved here I couldn’t find kale anywhere. I was panicked. I LOVE kale – it’s more than the food porn love I have for banana bread, or pizza, or pho – it’s a long-term relationship we are in. Kale and I are serious, committed, exclusive. So you can understand that when I moved here and couldn’t find my beloved I was heartbroken. Apparently Swede’s really only like to use kale during the winter holiday season. Four years ago when I first landed here, kale still wasn’t ‘big.‘ I searched high and low and could only find one variety during the holidays. But something has shifted and this hipster veg is now all over the place. Thank the green goddess! What I don’t understand is why it hasn’t been more popular. It’s a great winter vegetable, packed with vitamins, and I would imagine it would be easy to grow in these tough, short summer, conditions. But hey, I’m no farmer, not yet at least.

Washed kale in a strainer

Now that kale and I are back together full time, I’m able to make my favorite green smoothies. This one I call ‘Mother’s Little Helper.’ Since being Mrs. Robinson is no longer couth and I don’t think the little dove would do well if her mamma were on sedatives and martinis all the time, I turn to my power smoothie to get me through my energy zapping mornings.

This smoothie is packed with goodness: kale, blueberries, banana, chia seeds (shocking I know!), cashew milk, and honey. Dang! It’s that good. The beauty of the chia seeds is the thickening effect they have on the smoothie. I leave my smoothies in the refrigerator for 10-15 minutes before consuming to let the chias expand.

Now you have zero excuses to not get those leafy greens into your diet. And here’s a pro tip: wash 2 big bunches of kale and break into pieces. Dry and place in a zip lock bag lined with paper towels. Store in refrigeration for up to a week. Now you don’t even have to deal with the kale – just throw it in. You can thank me later.

OLYMPUS DIGITAL CAMERA

OLYMPUS DIGITAL CAMERA

OLYMPUS DIGITAL CAMERA

OLYMPUS DIGITAL CAMERA

Kale and blueberry smoothie: 

Ingredients:

  • 2 big handfuls (or cups) of washed kale
  • 1 banana
  • 3/4 cup frozen blueberries
  • 1 cup cashew milk or other non-dairy milk of your choice
  • 1 Tbs honey
  • 2 Tbs chia seeds

Directions:

1. Place all ingredients in a blender. I find it best to put the blueberries and banana on bottom an then add the rest.

2. Refrigerate for 10-15 minutes. Enjoy!

The gelatin-free strawberry chia jam to end all future ‘horse-hoof’ jam purchases.

Strawberry chia seed jam

Strawberries make me feel like a kid for some reason. I remember my parents playing their Beatles records when I was young (yeah, records), all of the their songs from the square ‘Love Me Do’ to the tripped out ‘I Am the Walrus’ or ‘Strawberry Fields’ and of course all of John Lennon’s solo stuff. So maybe this is why when I eat strawberries I feel small and innocent and like the world might just be all right, like there’s nothing to ‘get hung about.’ How could you in a strawberry field?

Living is easy with eyes closed
Misunderstanding all you see
It’s getting hard to be someone
But it all works out
It doesn’t matter much to me

Let me take you down
Cause I’m going to Strawberry Fields
Nothing is real
And nothing to get hung about
Strawberry Fields forever

Strawberry in a bowl

And how can you not feel like a kid when you eat jam? It’s sweet and gooey and makes just about anything taste better. You can mix in into yogurt or porridge, spread it on a sandwich with nut butter, eat it on buttered toast, top waffles with it, and on and on.

I’ve personally never made ‘real’ jam, although I admire folks who have. I don’t know how to ‘can and preserve’ and I’ve never used gelatin in my life. And, no, I’m not here to go all vegan on you about gelatin. I eat regular jam sometimes and don’t. even. flinch. (sorry to disappoint).

The truth is I’ve never been so in love with jam as I am now that I’ve made this chia variation. It’s got waaay less sugar – just a couple tablespoons of maple syrup. And the chia, oh the chia, the gelatinous-sticity (is that a word?) and tons of health benefits to boot. You just can’t go wrong with those little seeds! Saying goodbye to the gelatin feels pretty wise too (although I can’t promise I won’t cheat with other jams once in a while – you did see my previous note on my inconsistency right?).

The beauty of this recipe is in it’s simplicity.

Mashed strawberries in a saucepan

Strawberry chia seed jam

Toast on plate with strawberry chia seed jam

Strawberry Chia Jam: 

This recipe makes a small jar of jam.

Ingredients:

  • 1 box or bag (about 1 cup) of frozen organic (super important as strawberries are one of the worst when it comes to pesticide absorption) strawberries
  • 2-3 Tbs of maple syrup
  • 2 Tbs chia seeds

Directions:

1. Place frozen strawberries and maple syrup in a saucepan on a medium high heat.

2. Bring to a gentle boil and let cook for five minutes.

3. Mash the strawberries with a potato masher or fork until fairly smooth.

4. Add in chia seeds and reduce heat. Cook for 10 – 15 minutes or until you reach your desired constancy.

5. Let jam cool and then scoop into a air tight glass jar. Store in refrigerator up to a week.

Enjoy!

Strawberry chai seed jam in jar


Mercury & cruelty-free “chickpea of the sea”! Sounds fishy, but tastes great.

I grew up on tuna fish sandwiches. They were a staple at our house and my mom makes the best damn tuna sandwich in the world, no really so flippin’ good (thanks mom!). But… (always with the but I know) I just can’t bring myself to eat much seafood these days. Our oceans are in seriously poor shape. Fish supplies have dwindled and many species have gone extinct. Fishing practices are often harmful to the environment and cruel. Farmed fish (even ‘organic’) pose their own set of problems with genetic mutation from inbreeding, foul water sources, and disease. And don’t even get me started on the mercury levels, or Fukushima, because down the proverbial rabbit hole of world destruction I will go and that’s a shitty place to be, amiright? So let’s just avoid it for a bit by making a fantastic substitute for our beloved albacorian affair. 

OLYMPUS DIGITAL CAMERA

Like almost all substitutes in life, ‘ain’t nothin’ like the real thing baby, ain’t nothin’ like the real thing, so just let that expectation go right now. No really, let it go. Okay, now that we are approaching this with open minds we can begin to explore the endless possibilities that await us in creating this protein packed splendor. I mean really, think of the add ins: maybe your grew up with relish in your tuna salad, or maybe celery, or olives, or just some nice onion, or maybe you like to spice it up with cayenne, garlic powder, wasabi, or tahini. You can’t really go wrong here, but I’m going to share a basic recipe to get you started and you can alter it as you see fit, I won’t mind.

To get a fishy flavor you can add chopped up nori (seaweed sheets) or umiboshi vinegar (add a little at first as it is salty). I didn’t have any on hand, so I tossed in some capers for added saltiness. But I can’t wait to try it with umiboshi next time.

OLYMPUS DIGITAL CAMERA

Mercury & cruelty-free “chickpea of the sea”:

Adapted from thekitchn.com

Ingredients:

  • 1 can garbanzo or chickpea beans, drained and rinsed.
  • 1/2 small red or white onion, chopped fine
  • 1 celery stalk washed and chopped fine
  • 1-2 Tbs of mayonnaise or veganaise depending on your preferred consistency and disposition
  • 1-2 tsp of dijon mustard
  • 1 tsp capers
  • A few lettuce or spinach leaves
  • Tomato slices
  • 2 slices whole grain gluten free bread

Directions:

1. Smash your chickpeas with a fork or lightly chop in a food processor (be sure if using the later to not over chop as the chickpeas will turn into paste).

2. Add remaining ingredients and mix well.

3. Put your greens and tomato on your sliced bread and add your “chickpea of the sea”. If your bread tends to be dry you can always add some mayo to your slices.

4. Cut in half and enjoy!

OLYMPUS DIGITAL CAMERA


Vegan, raw, gluten free, guiltless banana cream pie. Say what?

I don’t know what it is about that first sunny day here in Stockholm. It’s like my shell gets cracked open and I can throw my sorels up in the attic, put the potato chips and goodies away (jesus, mary, and josheph finally!), start walking the little dove to and from school, and rip that heavy burden of winter (you know, the one that feels like the lead blankets they use at the dentist office) off my body. For those of you who don’t know me, I hate winter. I know, I know, but I live in Sweden. Let’s be clear: I moved for love, not for the weather.

OLYMPUS DIGITAL CAMERA

OLYMPUS DIGITAL CAMERA

So spring has sprung and that makes me want to swap the aforementioned crutches with healthy treats. I wish I was one of those people who is consistent, but I’m not. Maybe if I lived in say, Jamaica, but sadly that’s not happening right now. So when winter is here I slack a bit on the comfort food. But spring kicks me right back into gear. Thank the goddesses.

OLYMPUS DIGITAL CAMERA

Now, don’t get this gal wrong, I still love treats and here in Stockholm – the land of ‘fika’ (afternoon coffee and sweets) it’s sacrilegious to deny oneself sweet buns and cakes and gooey fudgy treats. It’s how we get through winter, ahem. However, there are two things that have prompted me to explore more healthy options. One is our kiddo who is old enough now to demand whatever we eat & if that’s gonna happen it best damn well be healthy and two is the fact that there aren’t that many good gluten free treats to be found [that calls for a whole other post]. Okay, so I’m not a raw foodie, or a vegetarian, or a vegan for that matter (you might not be either), but cutting out dairy and gluten and eating foods that are raw and whole is really good for our bodies and if it tastes good, why not incorporate it into our kitchen?

So that’s where the RVGF banana cream pie comes in. It’s actually good for you *gasp* and it tastes divine. Dates, walnuts, coconut, banana, cashews… I mean it’s like a yoga journal and elephant journal wet dream. So here’s to spring and letting ourselves indulge in the good life. And yes, Mr. Wonderful, the little dove, and our friends loved it. Enjoy!

*** You have to soak the cashews for the filling overnight – so if you want this NOW you’ll have to take a deep breath and wait. But get those cashews in the water stat and you can have this tomorrow!

OLYMPUS DIGITAL CAMERA

OLYMPUS DIGITAL CAMERA

OLYMPUS DIGITAL CAMERA

OLYMPUS DIGITAL CAMERA

OLYMPUS DIGITAL CAMERA

Raw, vegan, gluten free, guiltless banana cream pie:

Adapted from Minimalist Baker

Ingredients:
Crust:
(I actually wished this had made a bit more crust as I couldn’t get it a 1/2 inch up the sides of my pan – so I’ve adjusted the amount to make a bit more. The upside is that if you have leftovers you can use them as the base for raw nature bars (recipe coming soon!)).
  • 1 1/3 cups walnuts
  • 1 1/3 cups pitted dates (soaked for 10 minutes in warm water and drained)

Filling:

  • 1 & 1/4 cups cashews soaked overnight in a bowl of water that just covers the nuts, then drained
  • 3 & 1/2 Tbsp coconut oil, melted
  • 1/4 cup maple syrup
  • 1 & 1/2 bananas (a heaping 1/2 cup mashed)
  • 1/3 cup full fat coconut milk or coconut cream (for extra creaminess refrigerate the can overnight and then use the fat that has separated – you can save the rest for pancake batter or smoothies)
  • 1/2 tsp pure vanilla extract
  • 1/4 tsp sea salt
  • 2 Tbsp lemon juice

Directions:

1. Place soaked dates in the food processor and process until small bits remain and/or it forms into a ball (don’t over process). Remove and set aside.

2. Process walnuts until a meal consistency is achieved (again, don’t over process). Add dates back in and a pinch of salt and mix to combine. The crust should stick together and feel moldable. If too dry, add another date or two.

3. Press into a springform cake pan lined with plastic wrap or parchment (I used parchment and it worked fine however it leaves big creases which you can see on my pie edges, if you want a cleaner edge use plastic wrap). Press until flat, going up the sides about 1/2 inch. Place in freezer to set.

4. Place all filling ingredients in a food processor and blend until smooth and creamy. If it’s having trouble blending, add a little water to encourage it along. It should be silky smooth when completely combined.

5. Taste and adjust flavors as needed. Pour into crust and smooth. Tap to release any air bubbles, then cover and freeze until set – about 4-6 hours.

6. To serve, let thaw for 5 minutes. Should keep in the freezer, covered, for at least 1 week. I found that the longer it was in the freezer i.e. 3 days after, it needed more time to defrost – like 10-15 minutes.