Mercury & cruelty-free “chickpea of the sea”! Sounds fishy, but tastes great.

I grew up on tuna fish sandwiches. They were a staple at our house and my mom makes the best damn tuna sandwich in the world, no really so flippin’ good (thanks mom!). But… (always with the but I know) I just can’t bring myself to eat much seafood these days. Our oceans are in seriously poor shape. Fish supplies have dwindled and many species have gone extinct. Fishing practices are often harmful to the environment and cruel. Farmed fish (even ‘organic’) pose their own set of problems with genetic mutation from inbreeding, foul water sources, and disease. And don’t even get me started on the mercury levels, or Fukushima, because down the proverbial rabbit hole of world destruction I will go and that’s a shitty place to be, amiright? So let’s just avoid it for a bit by making a fantastic substitute for our beloved albacorian affair. 

OLYMPUS DIGITAL CAMERA

Like almost all substitutes in life, ‘ain’t nothin’ like the real thing baby, ain’t nothin’ like the real thing, so just let that expectation go right now. No really, let it go. Okay, now that we are approaching this with open minds we can begin to explore the endless possibilities that await us in creating this protein packed splendor. I mean really, think of the add ins: maybe your grew up with relish in your tuna salad, or maybe celery, or olives, or just some nice onion, or maybe you like to spice it up with cayenne, garlic powder, wasabi, or tahini. You can’t really go wrong here, but I’m going to share a basic recipe to get you started and you can alter it as you see fit, I won’t mind.

To get a fishy flavor you can add chopped up nori (seaweed sheets) or umiboshi vinegar (add a little at first as it is salty). I didn’t have any on hand, so I tossed in some capers for added saltiness. But I can’t wait to try it with umiboshi next time.

OLYMPUS DIGITAL CAMERA

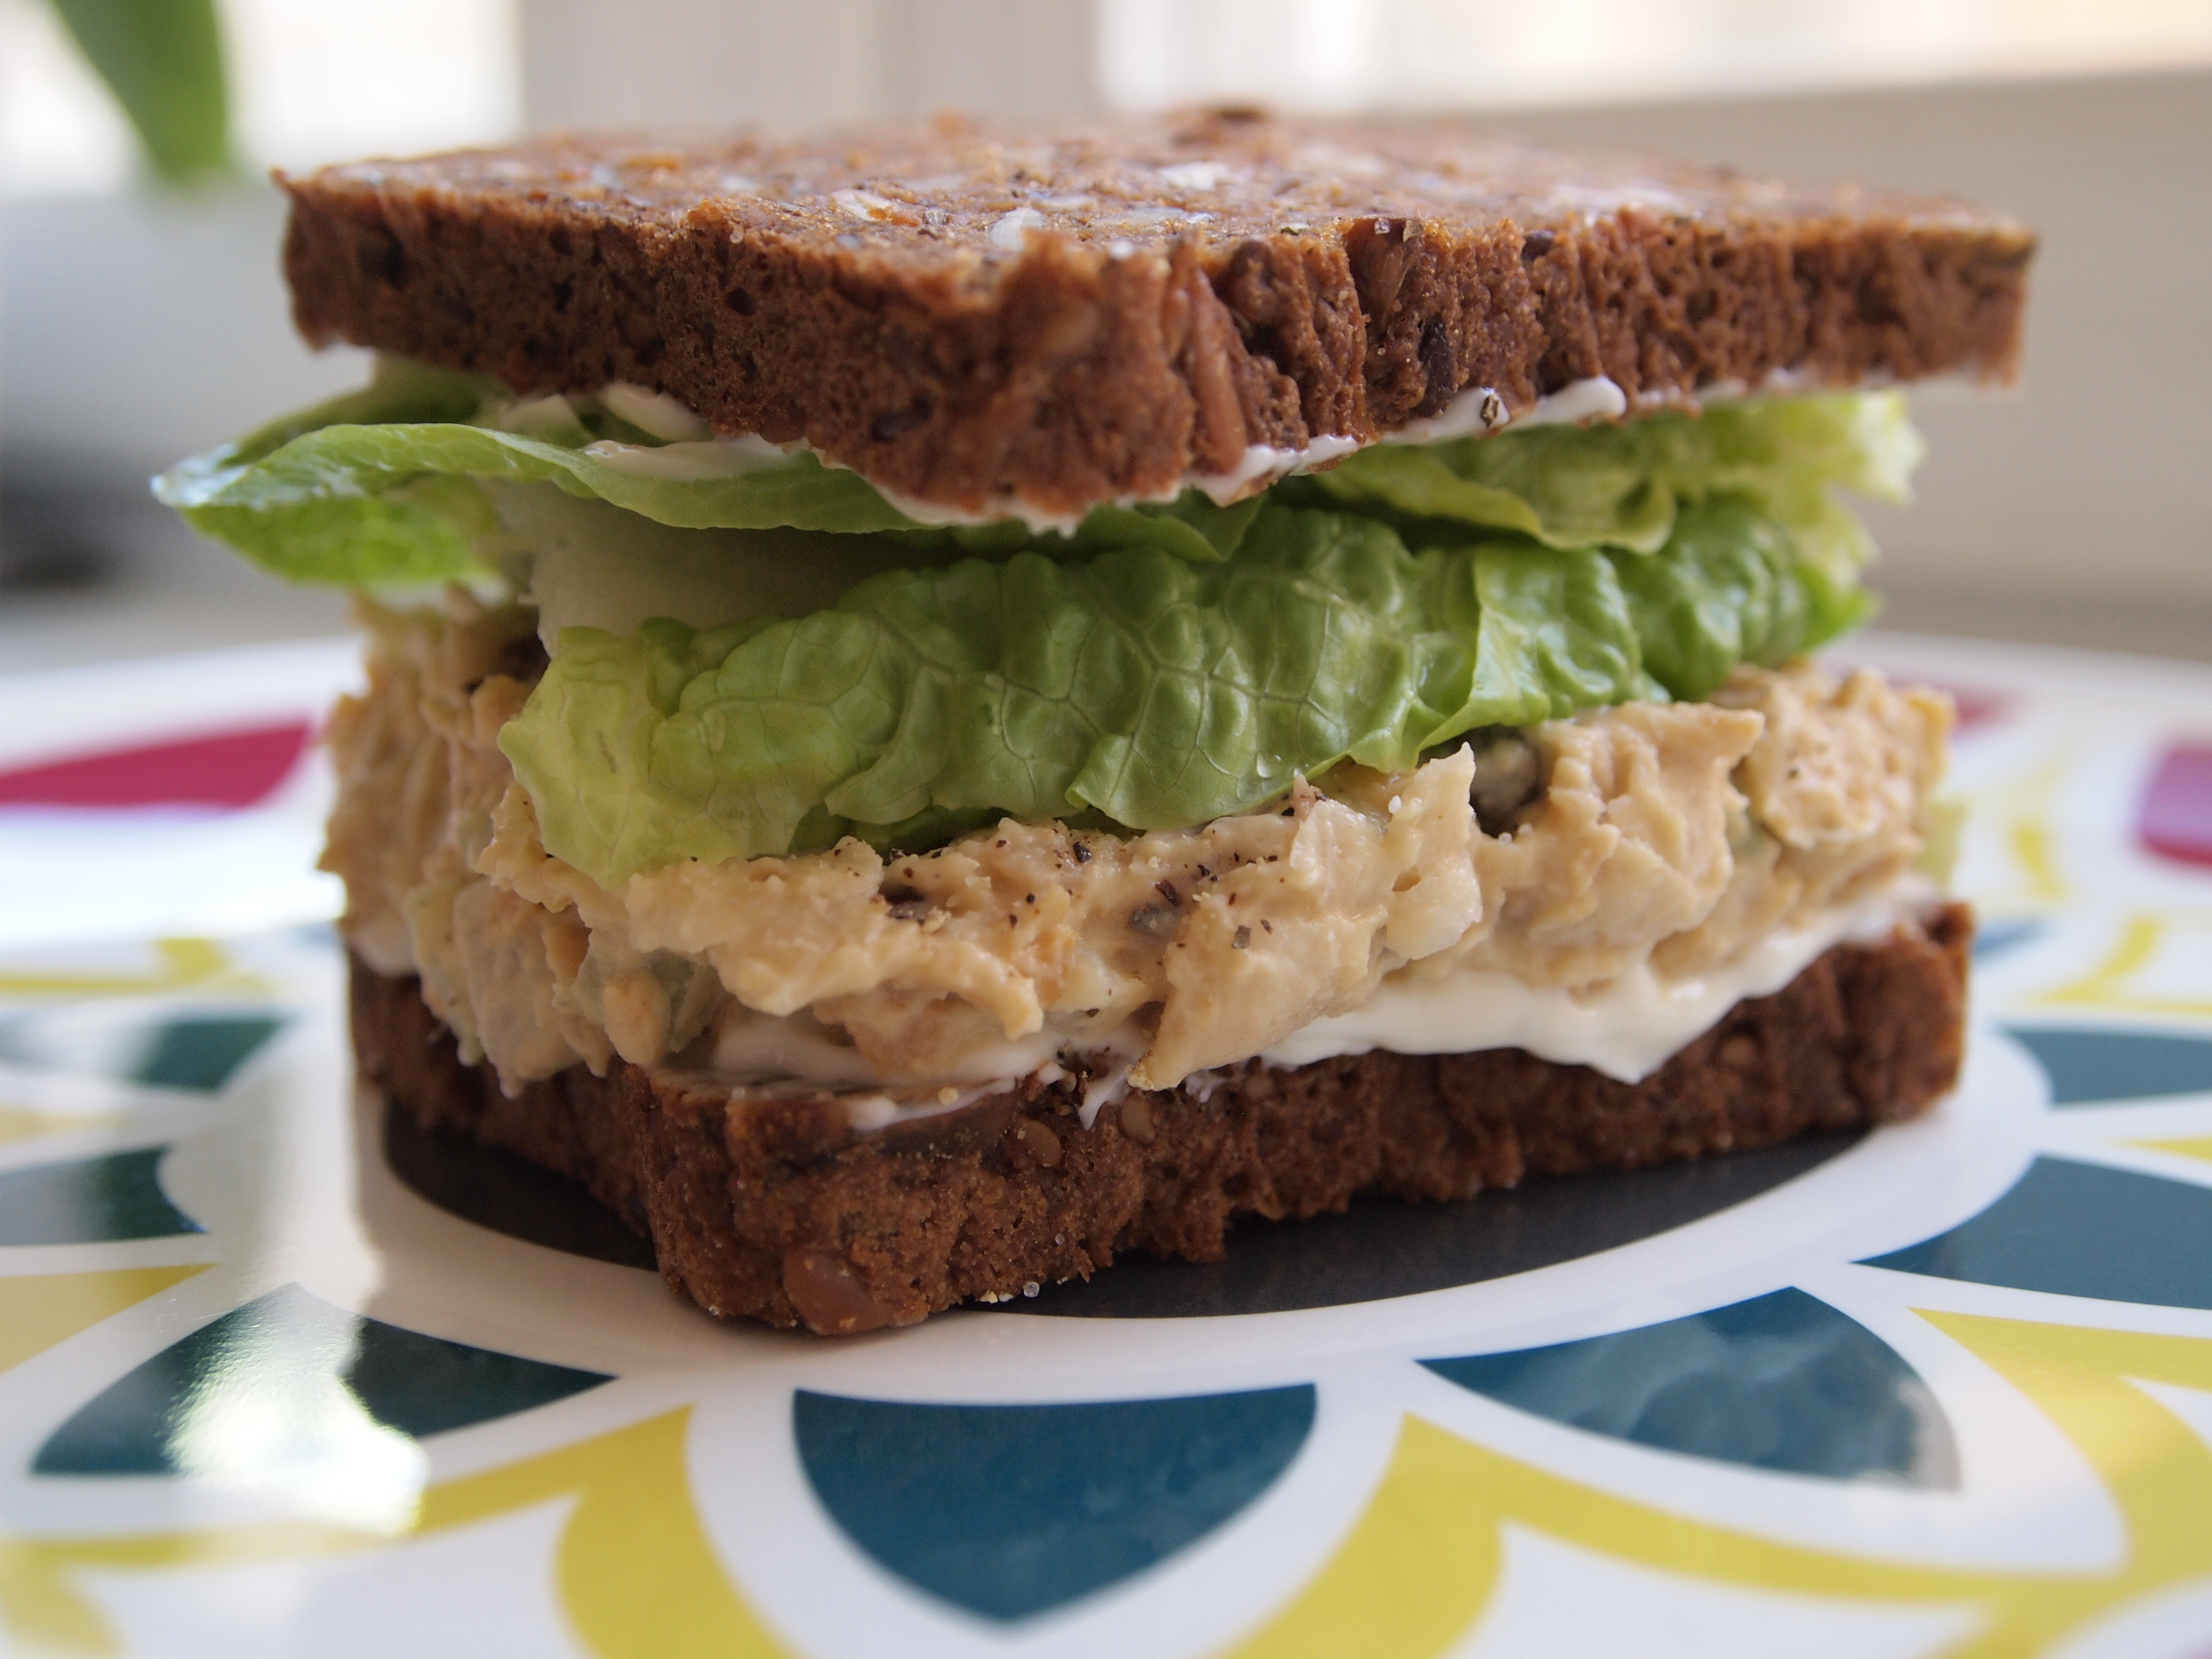
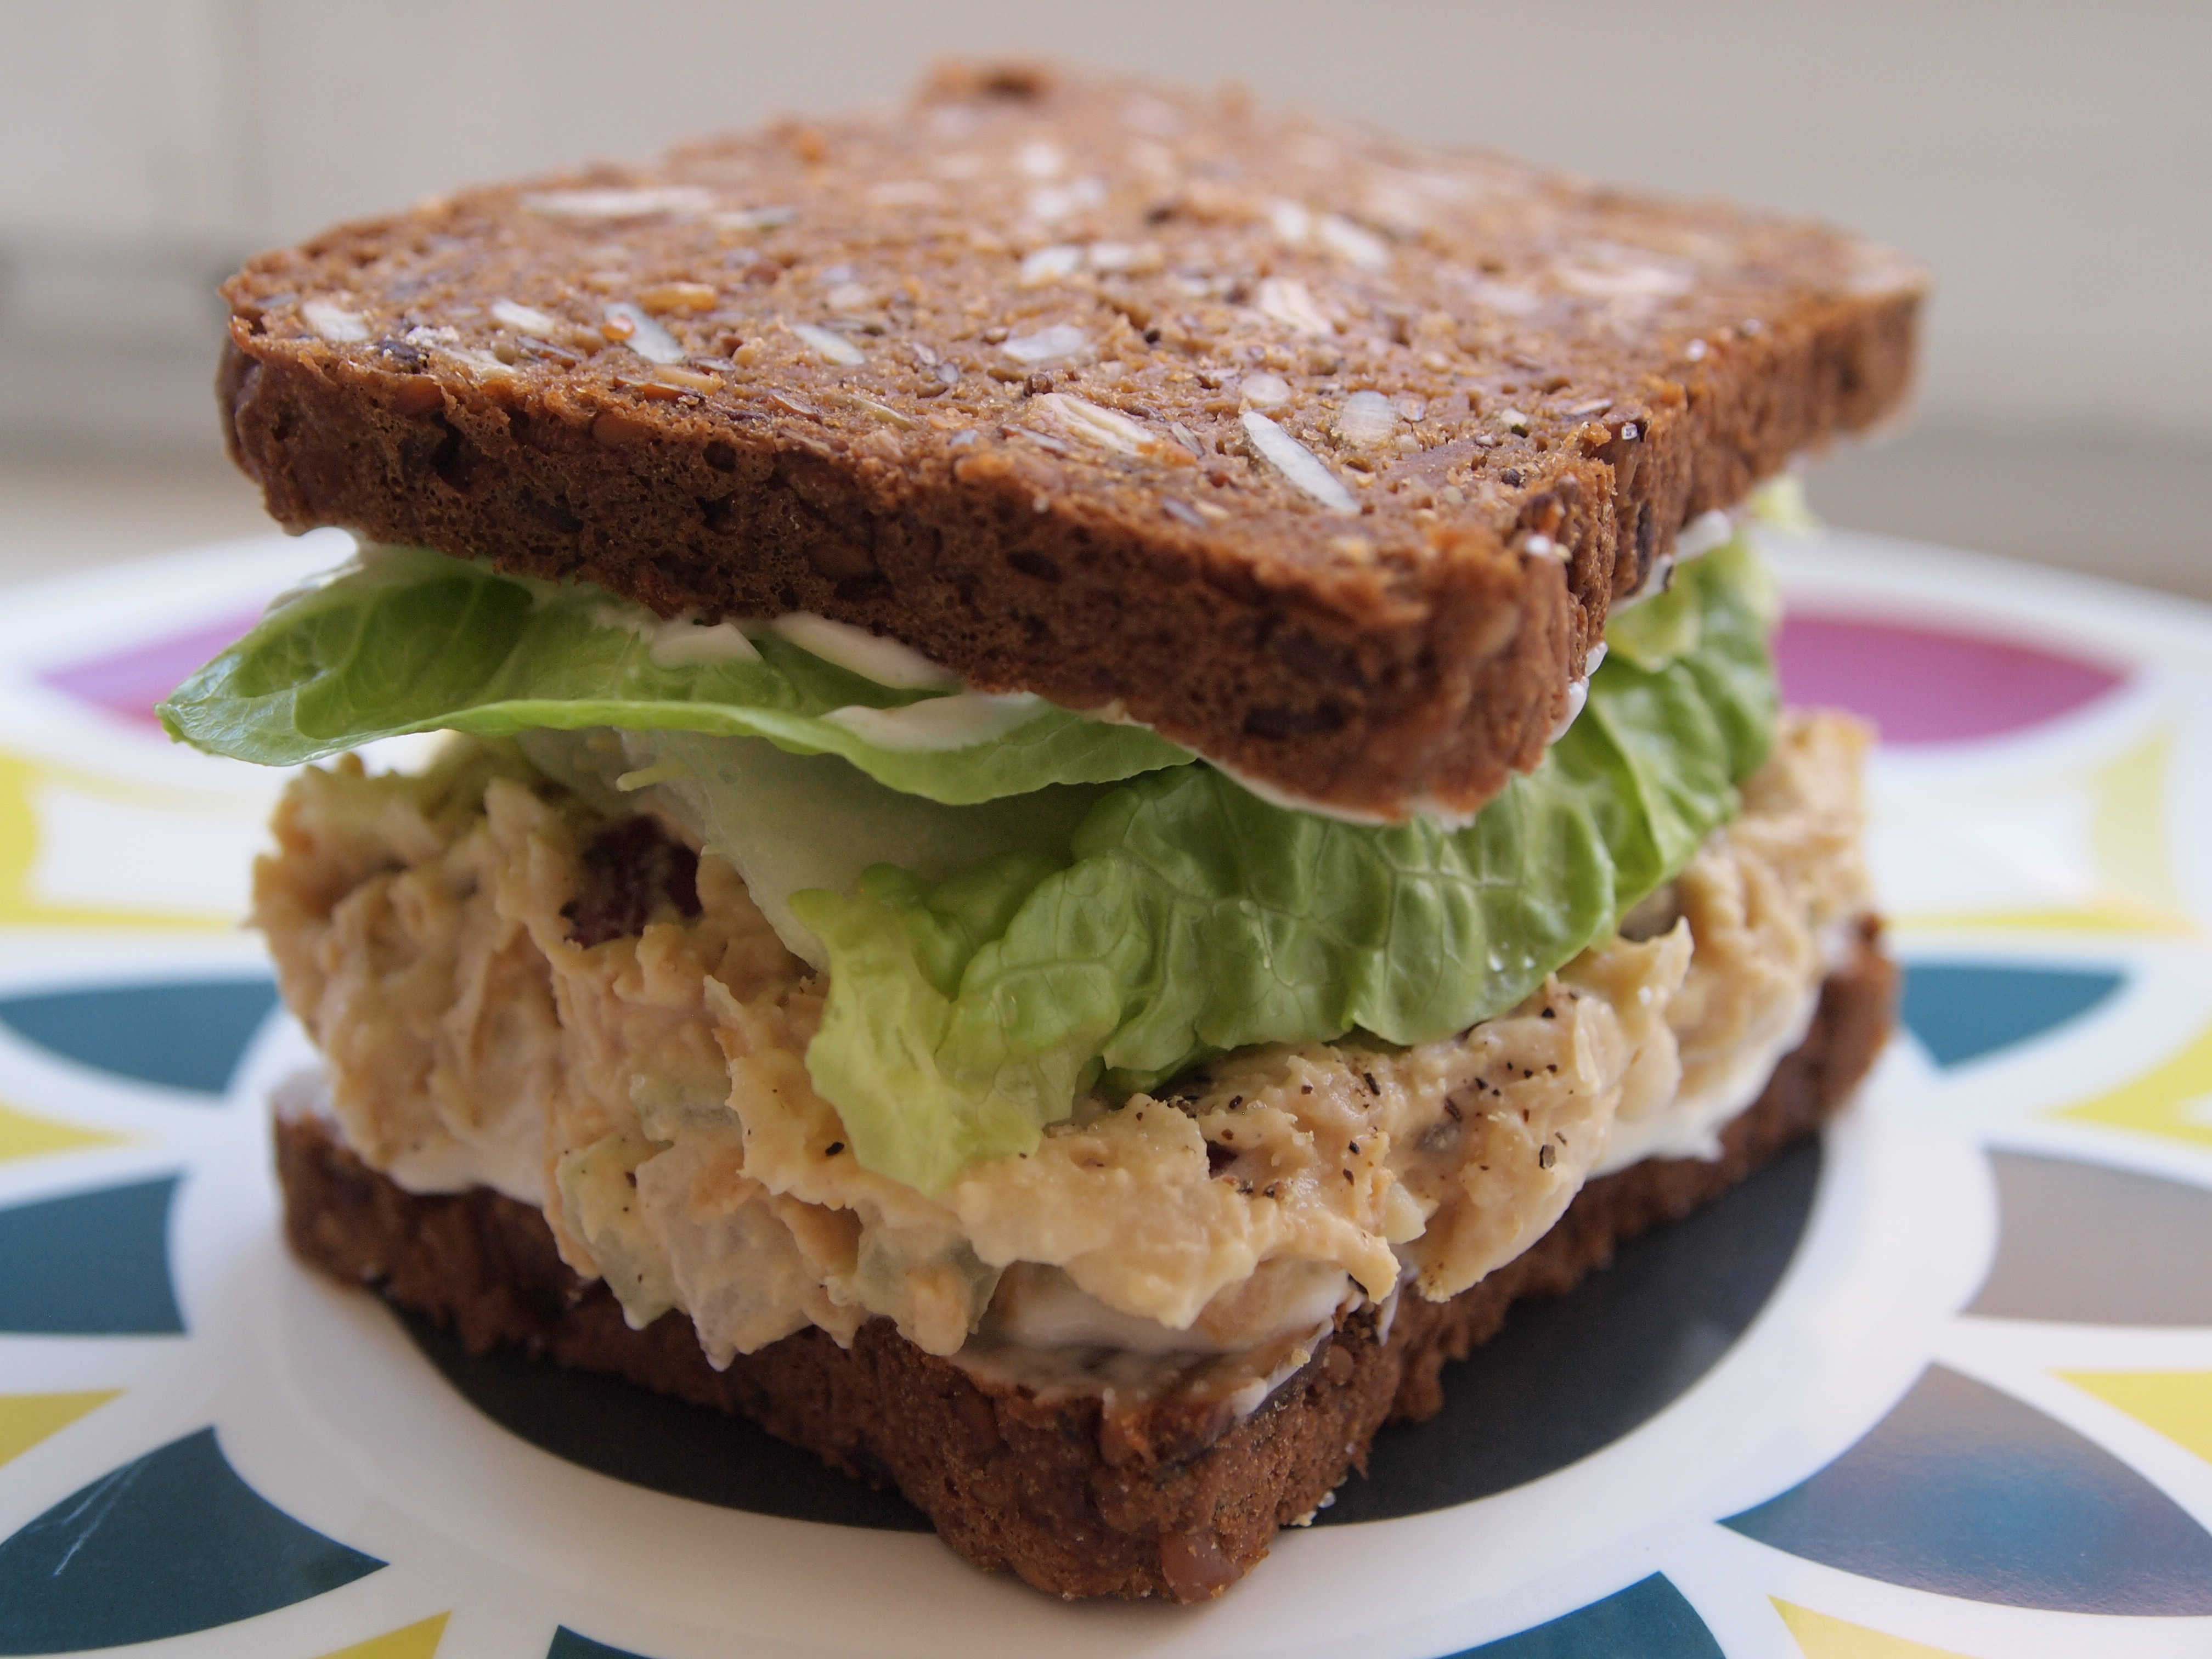
Mercury & cruelty-free “chickpea of the sea”:

Adapted from thekitchn.com

Ingredients:

  • 1 can garbanzo or chickpea beans, drained and rinsed.
  • 1/2 small red or white onion, chopped fine
  • 1 celery stalk washed and chopped fine
  • 1-2 Tbs of mayonnaise or veganaise depending on your preferred consistency and disposition
  • 1-2 tsp of dijon mustard
  • 1 tsp capers
  • A few lettuce or spinach leaves
  • Tomato slices
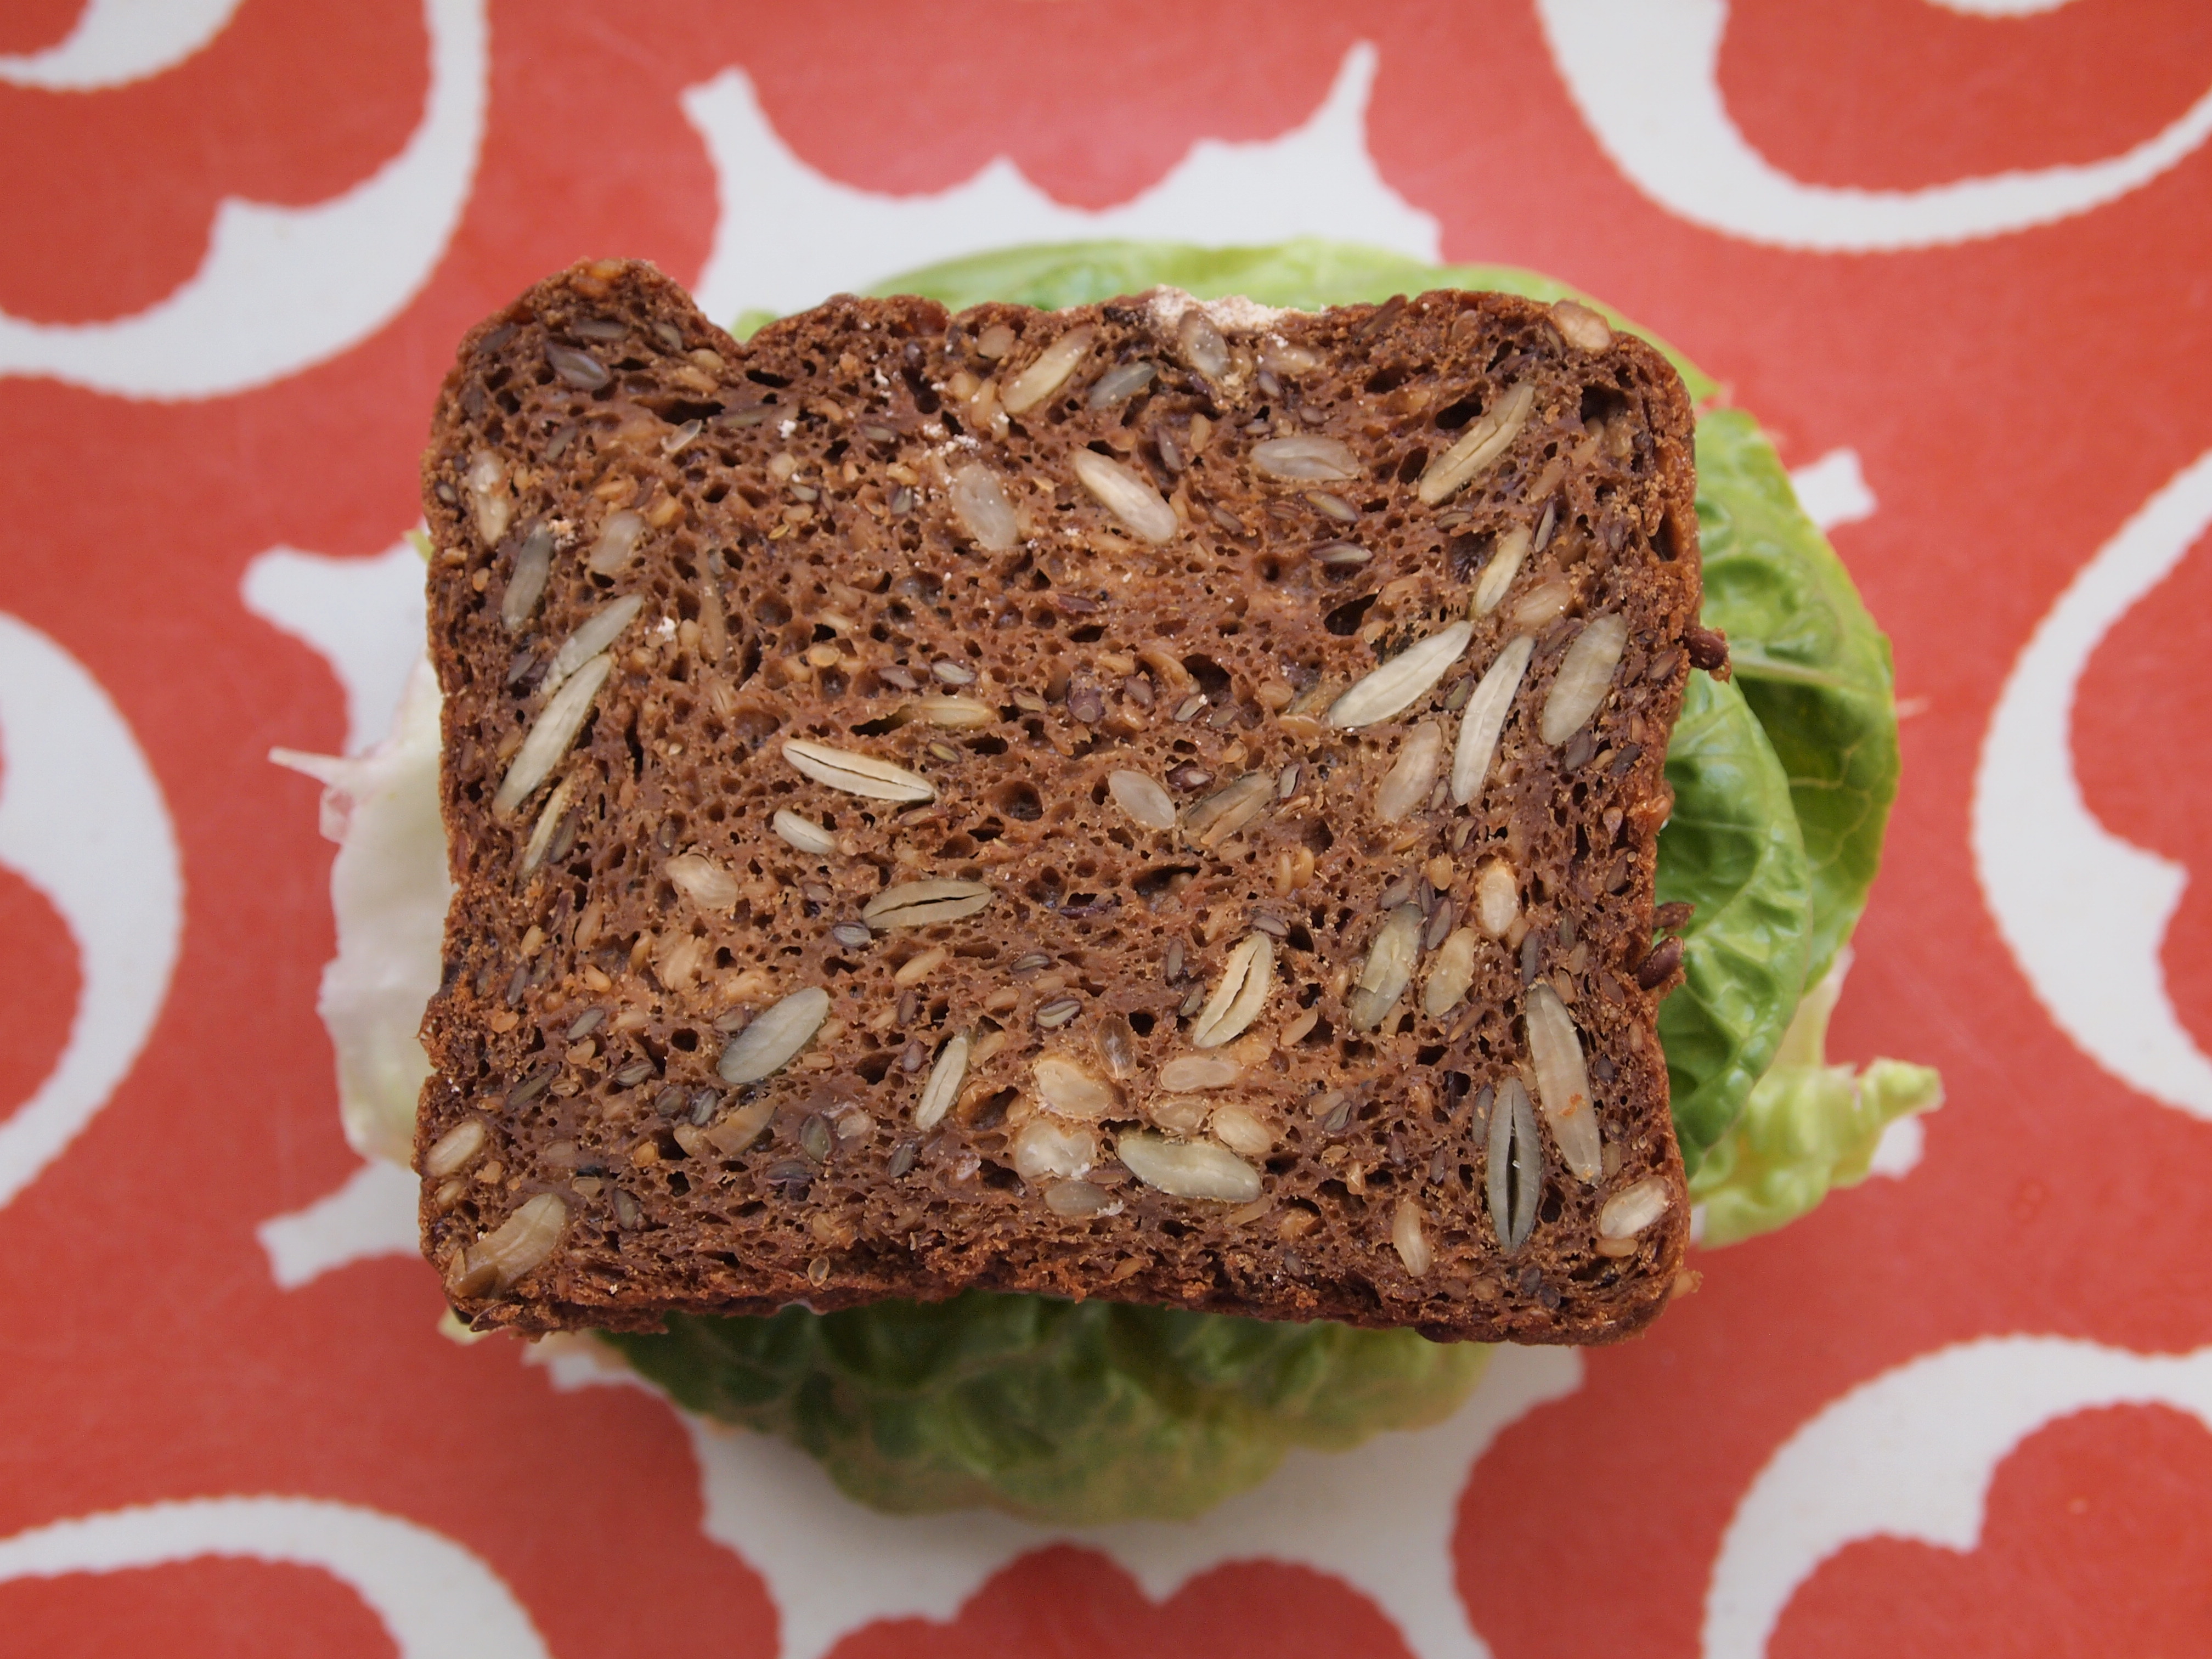
  • 2 slices whole grain gluten free bread

Directions:

1. Smash your chickpeas with a fork or lightly chop in a food processor (be sure if using the later to not over chop as the chickpeas will turn into paste).

2. Add remaining ingredients and mix well.

3. Put your greens and tomato on your sliced bread and add your “chickpea of the sea”. If your bread tends to be dry you can always add some mayo to your slices.

4. Cut in half and enjoy!

OLYMPUS DIGITAL CAMERA


Vegan, raw, gluten free, guiltless banana cream pie. Say what?

I don’t know what it is about that first sunny day here in Stockholm. It’s like my shell gets cracked open and I can throw my sorels up in the attic, put the potato chips and goodies away (jesus, mary, and josheph finally!), start walking the little dove to and from school, and rip that heavy burden of winter (you know, the one that feels like the lead blankets they use at the dentist office) off my body. For those of you who don’t know me, I hate winter. I know, I know, but I live in Sweden. Let’s be clear: I moved for love, not for the weather.

OLYMPUS DIGITAL CAMERA

OLYMPUS DIGITAL CAMERA

So spring has sprung and that makes me want to swap the aforementioned crutches with healthy treats. I wish I was one of those people who is consistent, but I’m not. Maybe if I lived in say, Jamaica, but sadly that’s not happening right now. So when winter is here I slack a bit on the comfort food. But spring kicks me right back into gear. Thank the goddesses.

OLYMPUS DIGITAL CAMERA

Now, don’t get this gal wrong, I still love treats and here in Stockholm – the land of ‘fika’ (afternoon coffee and sweets) it’s sacrilegious to deny oneself sweet buns and cakes and gooey fudgy treats. It’s how we get through winter, ahem. However, there are two things that have prompted me to explore more healthy options. One is our kiddo who is old enough now to demand whatever we eat & if that’s gonna happen it best damn well be healthy and two is the fact that there aren’t that many good gluten free treats to be found [that calls for a whole other post]. Okay, so I’m not a raw foodie, or a vegetarian, or a vegan for that matter (you might not be either), but cutting out dairy and gluten and eating foods that are raw and whole is really good for our bodies and if it tastes good, why not incorporate it into our kitchen?

So that’s where the RVGF banana cream pie comes in. It’s actually good for you *gasp* and it tastes divine. Dates, walnuts, coconut, banana, cashews… I mean it’s like a yoga journal and elephant journal wet dream. So here’s to spring and letting ourselves indulge in the good life. And yes, Mr. Wonderful, the little dove, and our friends loved it. Enjoy!

*** You have to soak the cashews for the filling overnight – so if you want this NOW you’ll have to take a deep breath and wait. But get those cashews in the water stat and you can have this tomorrow!

OLYMPUS DIGITAL CAMERA

OLYMPUS DIGITAL CAMERA

OLYMPUS DIGITAL CAMERA

OLYMPUS DIGITAL CAMERA

OLYMPUS DIGITAL CAMERA

Raw, vegan, gluten free, guiltless banana cream pie:

Adapted from Minimalist Baker

Ingredients:
Crust:
(I actually wished this had made a bit more crust as I couldn’t get it a 1/2 inch up the sides of my pan – so I’ve adjusted the amount to make a bit more. The upside is that if you have leftovers you can use them as the base for raw nature bars (recipe coming soon!)).
  • 1 1/3 cups walnuts
  • 1 1/3 cups pitted dates (soaked for 10 minutes in warm water and drained)

Filling:

  • 1 & 1/4 cups cashews soaked overnight in a bowl of water that just covers the nuts, then drained
  • 3 & 1/2 Tbsp coconut oil, melted
  • 1/4 cup maple syrup
  • 1 & 1/2 bananas (a heaping 1/2 cup mashed)
  • 1/3 cup full fat coconut milk or coconut cream (for extra creaminess refrigerate the can overnight and then use the fat that has separated – you can save the rest for pancake batter or smoothies)
  • 1/2 tsp pure vanilla extract
  • 1/4 tsp sea salt
  • 2 Tbsp lemon juice

Directions:

1. Place soaked dates in the food processor and process until small bits remain and/or it forms into a ball (don’t over process). Remove and set aside.

2. Process walnuts until a meal consistency is achieved (again, don’t over process). Add dates back in and a pinch of salt and mix to combine. The crust should stick together and feel moldable. If too dry, add another date or two.

3. Press into a springform cake pan lined with plastic wrap or parchment (I used parchment and it worked fine however it leaves big creases which you can see on my pie edges, if you want a cleaner edge use plastic wrap). Press until flat, going up the sides about 1/2 inch. Place in freezer to set.

4. Place all filling ingredients in a food processor and blend until smooth and creamy. If it’s having trouble blending, add a little water to encourage it along. It should be silky smooth when completely combined.

5. Taste and adjust flavors as needed. Pour into crust and smooth. Tap to release any air bubbles, then cover and freeze until set – about 4-6 hours.

6. To serve, let thaw for 5 minutes. Should keep in the freezer, covered, for at least 1 week. I found that the longer it was in the freezer i.e. 3 days after, it needed more time to defrost – like 10-15 minutes.

My top photos from 2013

IMG_0392

I am in love with photography. I studied it briefly in high school and never let it go as one of my favorite hobbies. It wasn’t until moving to Sweden though that it became a form of communication. After leaving friends, family, and career to move for love, I found myself in a new world and for some reason I became quiet and observant. Without a large community I spent a lot of time alone, walking, and taking it all in. Then I had our daughter and spent even more time walking in silence, looking at the world around me and witnessing beauty in my everyday surroundings. I found a story in each image, a magical world where I could communicate this existence through my eyes. These are some of my favorite shots from 2013.

OLYMPUS DIGITAL CAMERA

IMG_1662

IMG_0562

IMG_3533

IMG_4857

OLYMPUS DIGITAL CAMERA

IMG_5445

IMG_3564

IMG_4572

IMG_3387

IMG_5443

IMG_3360

IMG_0890

IMG_0121

Chia, coconut, and vanilla ‘panna cotta’ with berry compote. Dairy free delish!

OLYMPUS DIGITAL CAMERA

I’m just as obsessed with chia seeds as the next wannabeyogigoddesshippiefreak, but I’ve recently branched out from my chia + kale superdayshake and the good ‘ol chia + coco + banana pudding to explore using chia in place of gelatin. I first experimented with strawberry chia ‘jam’ (which I’ll post about soon) but we were having people over for dinner and I wanted a perfect little desert – something light, healthy, and fresh. I was researching panna cotta and all the recipes called for gelatin, so I decided to make a chia version and while it’s not really panna cotta, it’s damn good. Mr. Wonderful even liked it. He actually kinda loved it.

OLYMPUS DIGITAL CAMERA

Chia coconut and vanilla ‘panna cotta’ with berry compote:

For the panna cotta

  • 2 cups organic coconut cream
  • 4 Tbs chia seeds
  • 1 vanilla bean pod
  • 2 Tbs maple syrup

For the berry compote

  • 1 box or packet of frozen organic mixed berries
  • 2-3 Tbs maple syrup

Directions:

1. Mix the coconut cream and vanilla bean pod (bean paste scraped from inside and added to coconut milk) and bring to a boil, lower heat and let simmer a few minutes, then add the maple syrup. Add chia seeds and stir well. Let simmer another couple of minutes. Take off heat.

2. Mix the frozen berries and maple syrup in a small pot and bring to a boil. Lower heat and let simmer for 5 minutes until mixture begins to thicken.

3. Pour coconut mixture into 4 small serving glasses. Let sit for 10 minutes. Add layer of cooled berry compote. Add top layer of coconut mixture and then top off with rest of berry compote. Chill in refrigerator for 2-3 hours and voilà! Serve and enjoy!

OLYMPUS DIGITAL CAMERA

Gluten free cauliflower pizza crust.

I’ve been searching (pining might be a better word) a long time for a gluten free pizza crust that I love. Growing up Italian with roots in NYC, I’m used to pizza that has a thin crust, one that you can hold in one hand folded and devour. I had really high expectations (lord knows I’m full of them!) for the cauliflower crust after reading a gazillion recipes for it and rave reviews from gluten intolerant pizza lovers. And while it was a really nice pizza, I have to share a few thoughts: a) this is NOT going to taste like NYC pizza crust (I know, again with the lofty expectations) b) this crust does taste like cauliflower – but it’s slight so that helps c) we were not able to pick the crust up, but that could be because we put too many toppings on.  Gluten-loving Mr. Wonderful loved it actually and I enjoyed it as a new way to eat pizza. I just had to tone my expectations down a bit, ahem. There are recipes that call for cooking the cauliflower beforehand, which may help reduce the moisture and could make the pick-up factor more likely. Lastly, eat it all up. It was super soggy when reheated. Enjoy!

IMG_0707

IMG_0708

Gluten free cauliflower pizza crust:

Ingredients:

2 cups raw shredded organic cauliflower *
1 cup shredded mozzarella cheese
1 large egg
1tsp garlic salt
1 tsp oregano
Baking parchment
1 to 2 tsp extra virgin olive oil

* You need to grate your cauliflower with the grater blade in a Cuisenart – if you don’t have one, I assume you could grate it by hand, but it needs to be light and fluffy, almost like flour, but not too fine.

Directions:

1. Preheat oven to 425 °F. Tear off enough baking parchment to cover your pizza pan, trim to size and shape of your pan. Combine ALL ingredients in a large bowl, stirring until completely incorporated. I used my hands as it seems to come together better. 

2. Place the contents onto your baking parchment trying to lay it out evenly upon the center of the paper. Then, press the crust out in the desired thickness (this will also determine its width– our thin crust makes a 12 inch pizza.) You don’t want to make it thick as it will be soggy. 

3. Rub the 1 to 2 tsp of olive oil on your hands and then pat the top of your pizza crust, making sure to get all of it. 

4. Bake, the crust only, in the oven for 15 minutes or until golden browned. Remove from oven and add the sauce and toppings of your choice. 

TIP: Be sure not to overload your pizza with toppings — not only for flavor but stability.

5. Place back in the oven (on broil) for 2 to 3 minutes or just until the cheese is melted, golden and bubbly. Remove from oven and let sit for just a moment or two. Enjoy!